
Rear dormer loft conversion
A third bedroom and en suite built into an unused roof void, with the dormer designed to sit correctly on a tall villa in a conservation area.
- Property
- Mid-Victorian semi-detached villa
- On site
- 11 weeks
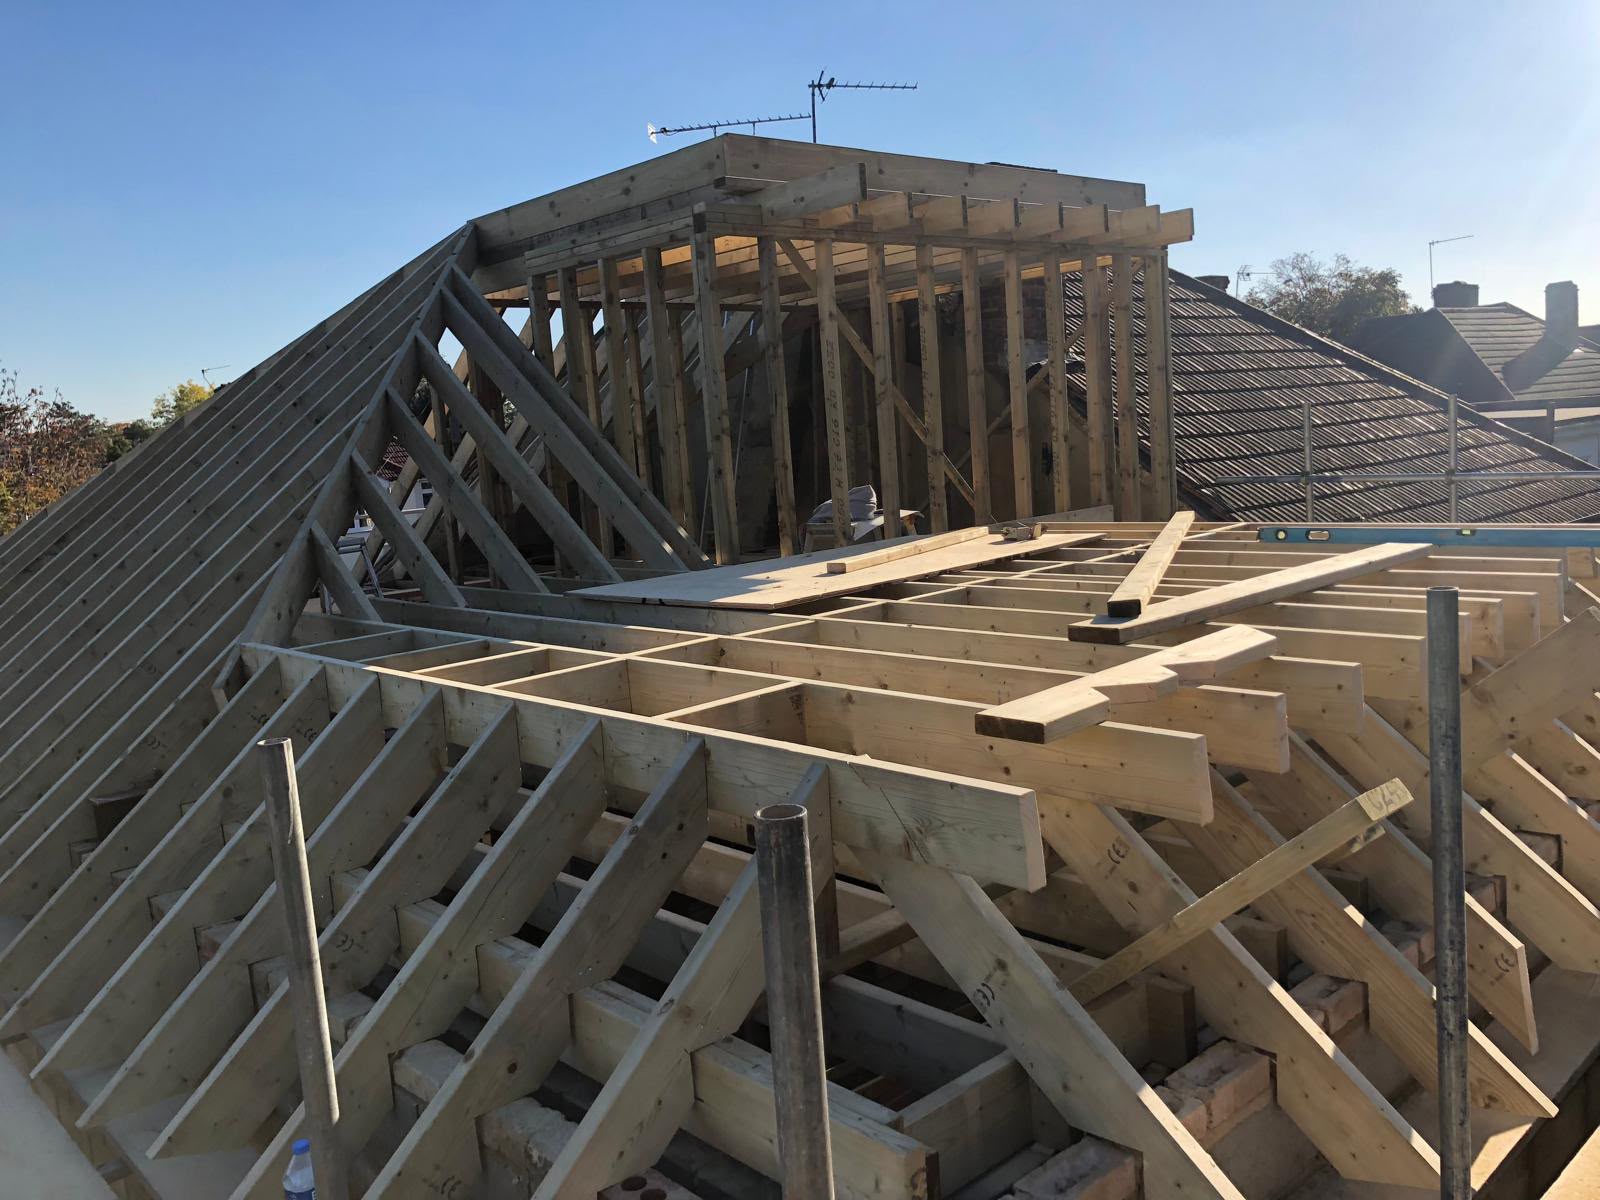
A growing family in a two bedroom villa with a large and completely unused roof space. The constraint was the street: Brockley Conservation Area, tall houses, and a roof line visible from a long way down the road. A standard full-width box dormer would have been refused, and would have deserved to be.
What we did
A rear dormer set 500mm in from each party wall and 300mm below the ridge, with the cheeks clad in standing seam zinc rather than tile hanging. It reads as a considered addition rather than a bolted-on box, and it kept the application straightforward.
Structure
New floor joists spanning onto twin steels bearing on the party walls, so the new floor loads the walls rather than the ceiling below. The original lath and plaster ceiling downstairs survived the job intact, which does not always happen.
The staircase
The hardest decision in the project. Running the new flight over the existing stairwell would have cost the landing and made the second bedroom door unusable. We turned it through ninety degrees against the party wall instead, and found the head height with a small ceiling drop over the bottom three treads.
Fire and comfort
Fire doors to every room off the stairwell, mains-linked interlinked alarms and thirty minute floor construction. Insulated between and over the rafters with a ventilated void above, so the room is usable in July.
Process of work
The room was built inside an existing roof void, so nearly everything that decides how it feels was settled by the structure: where the dormer sits on the rear slope, how much of the original roof line stays visible in the room, and how low the window cill could be dropped off the new floor.
9 stages
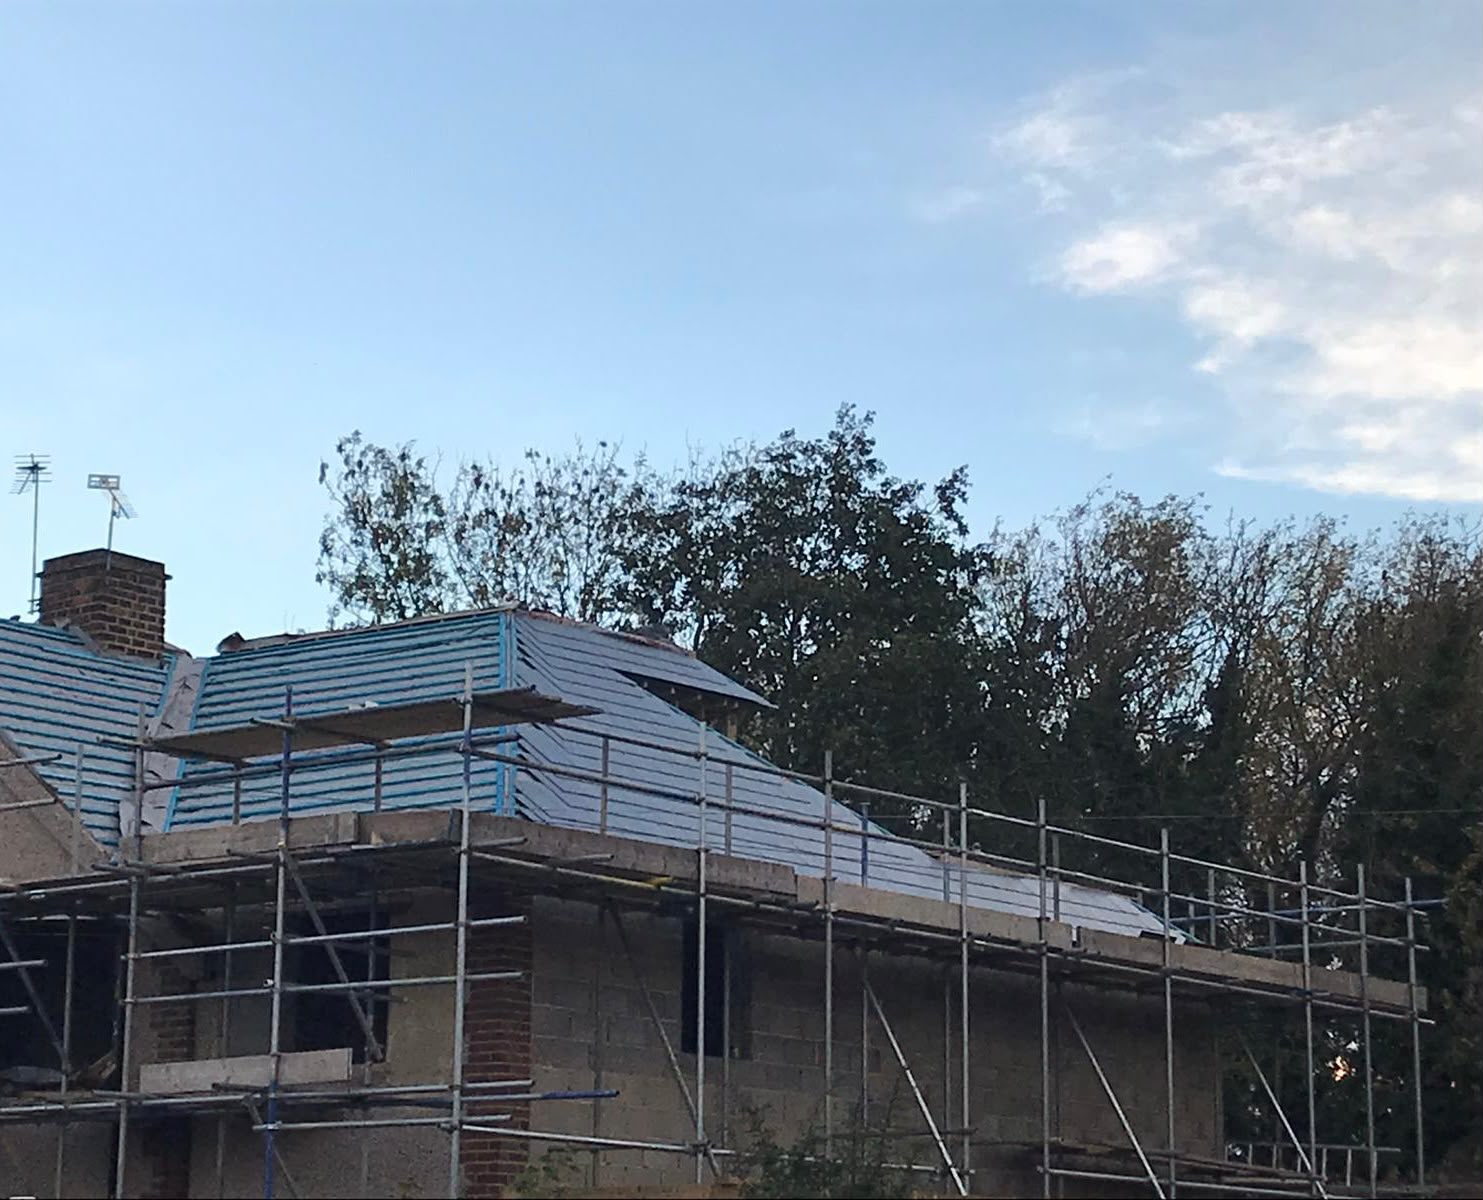
01Roof felted and battened
The new roof from the garden, wrapped in breathable membrane and battened ready for its covering, with the dormer sitting on the rear slope and the new blockwork walls rising below the scaffold.
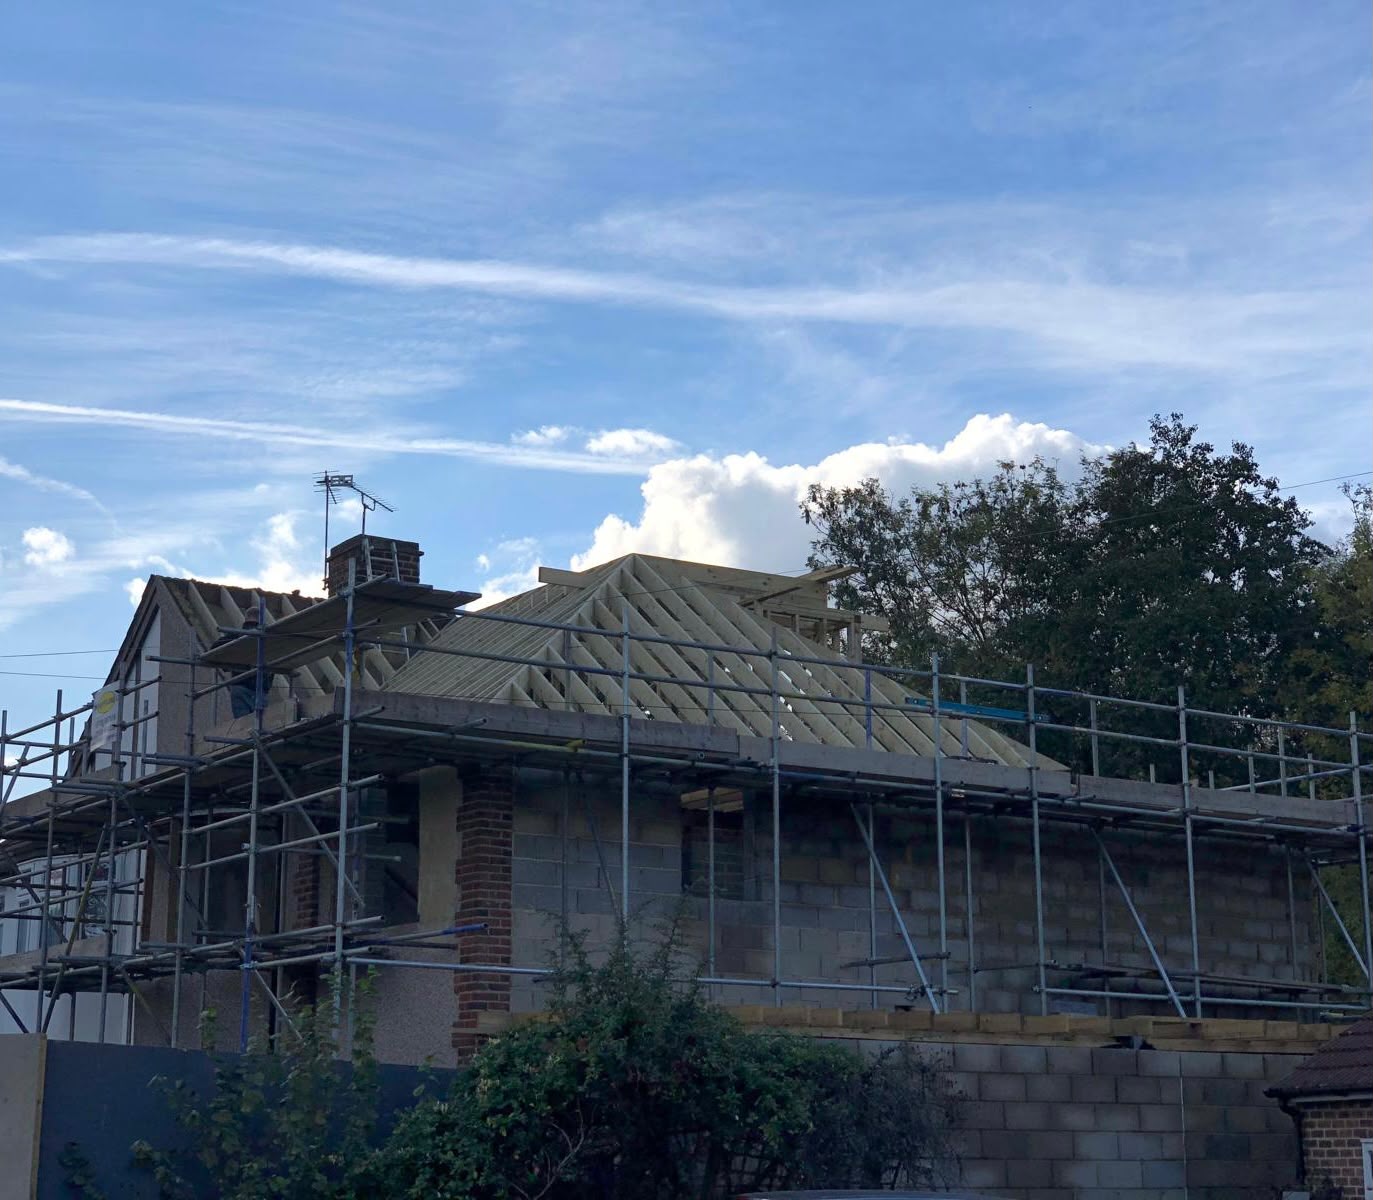
02New roof timbers
The roof timbers cut and fixed on top of the new walls, with the hip taking shape at the end and the frame for the dormer standing up behind it.
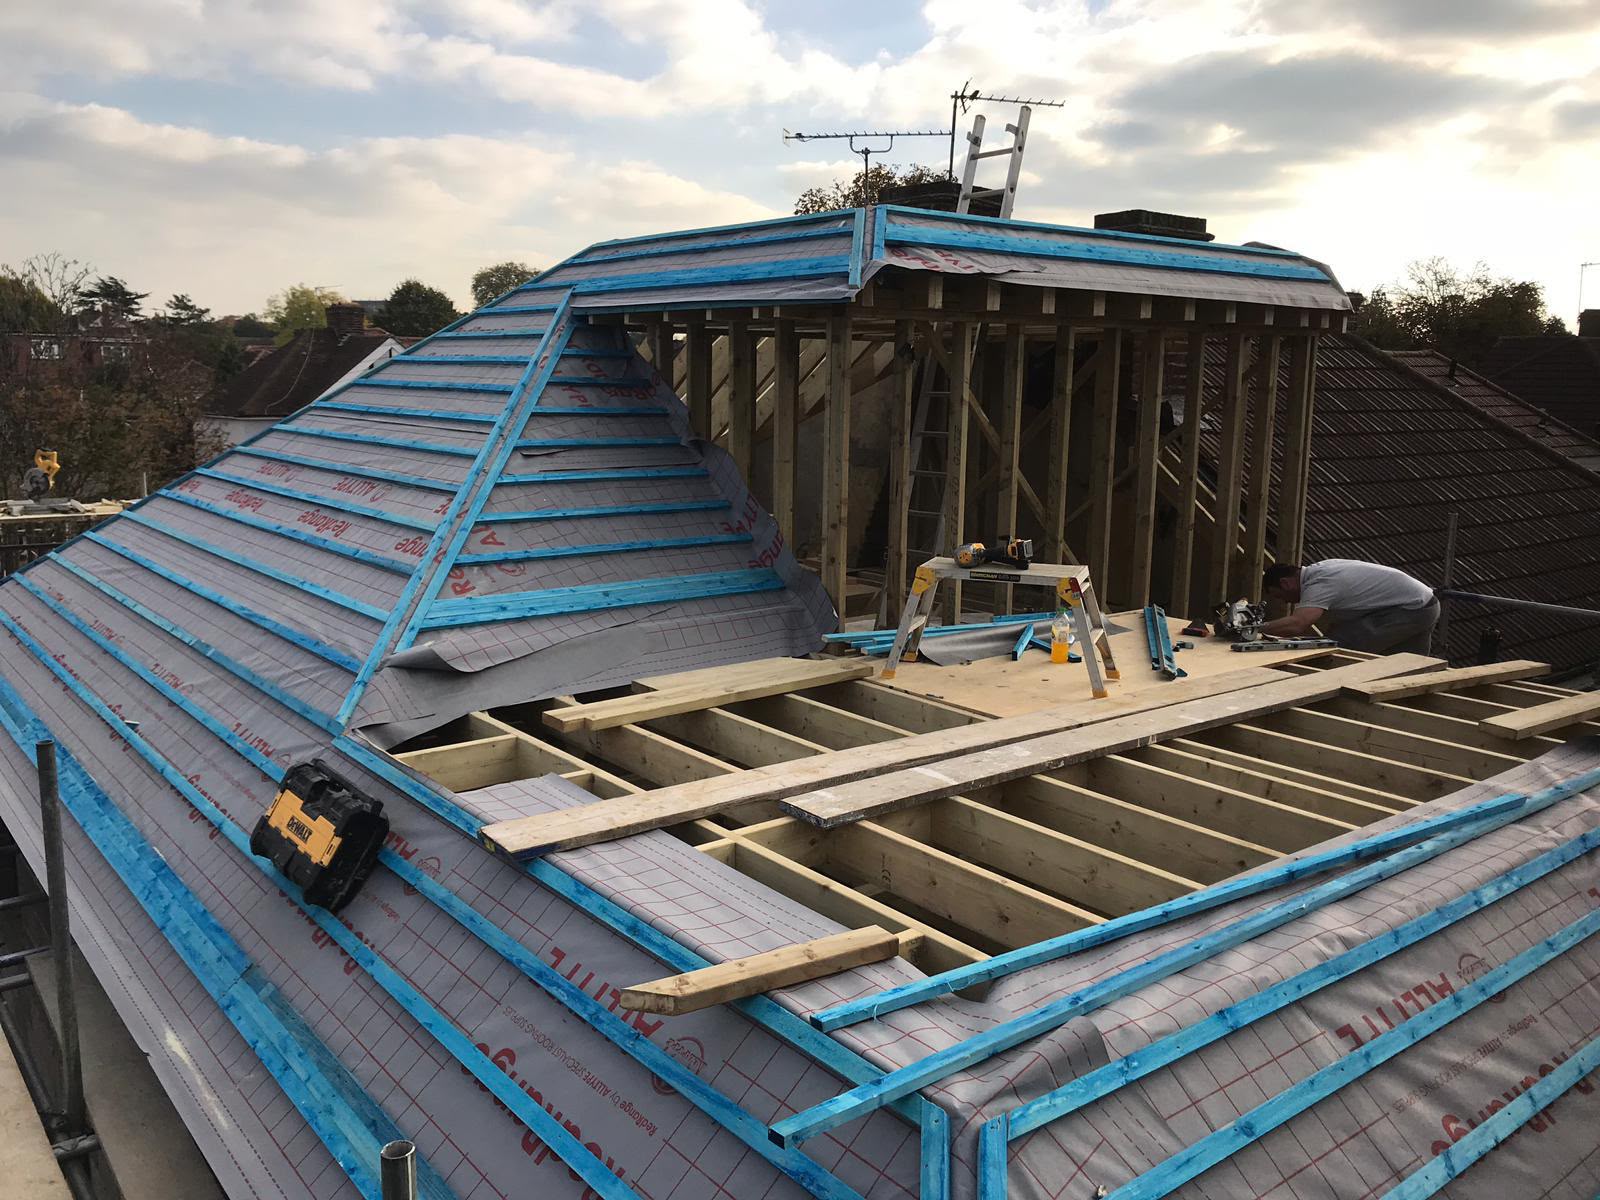
03Dormer framed, hip battened
Up on the roof: the hip membraned and battened, the dormer framed in timber stud, and the new loft floor joists laid out across the top of the walls ready for boarding.
04Steels and new joists
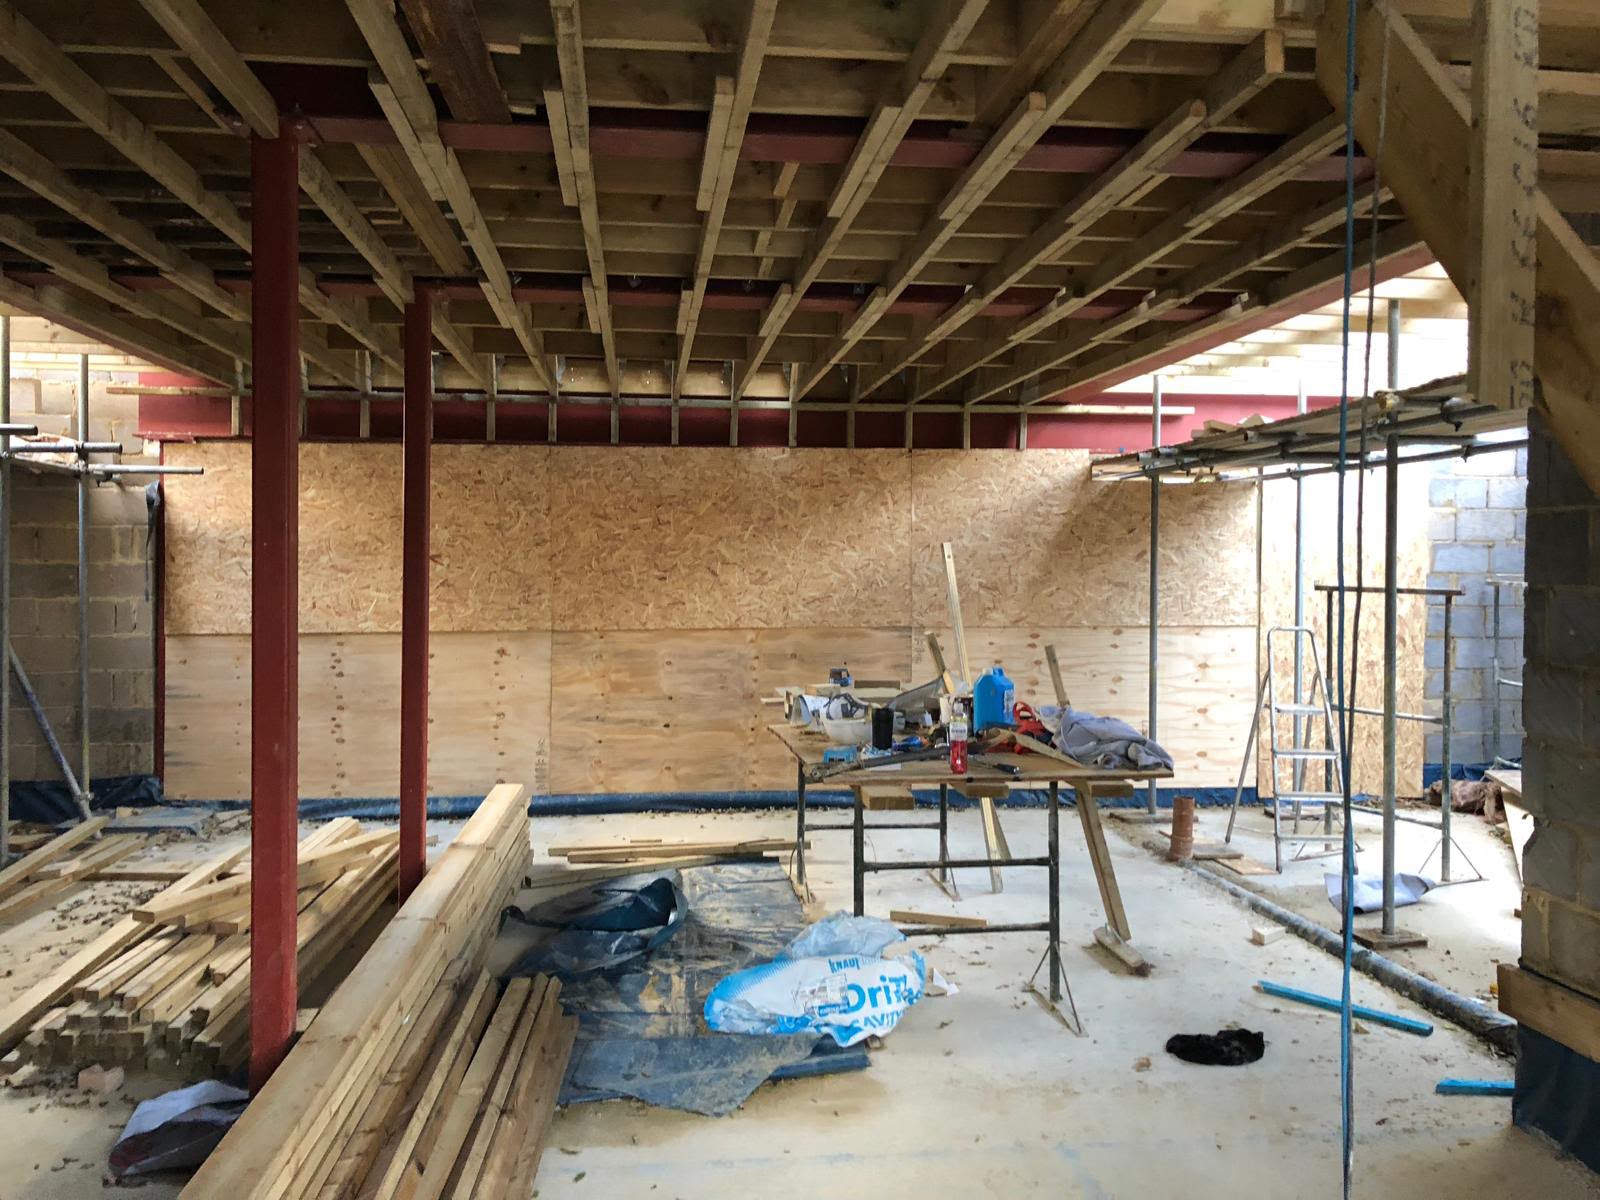
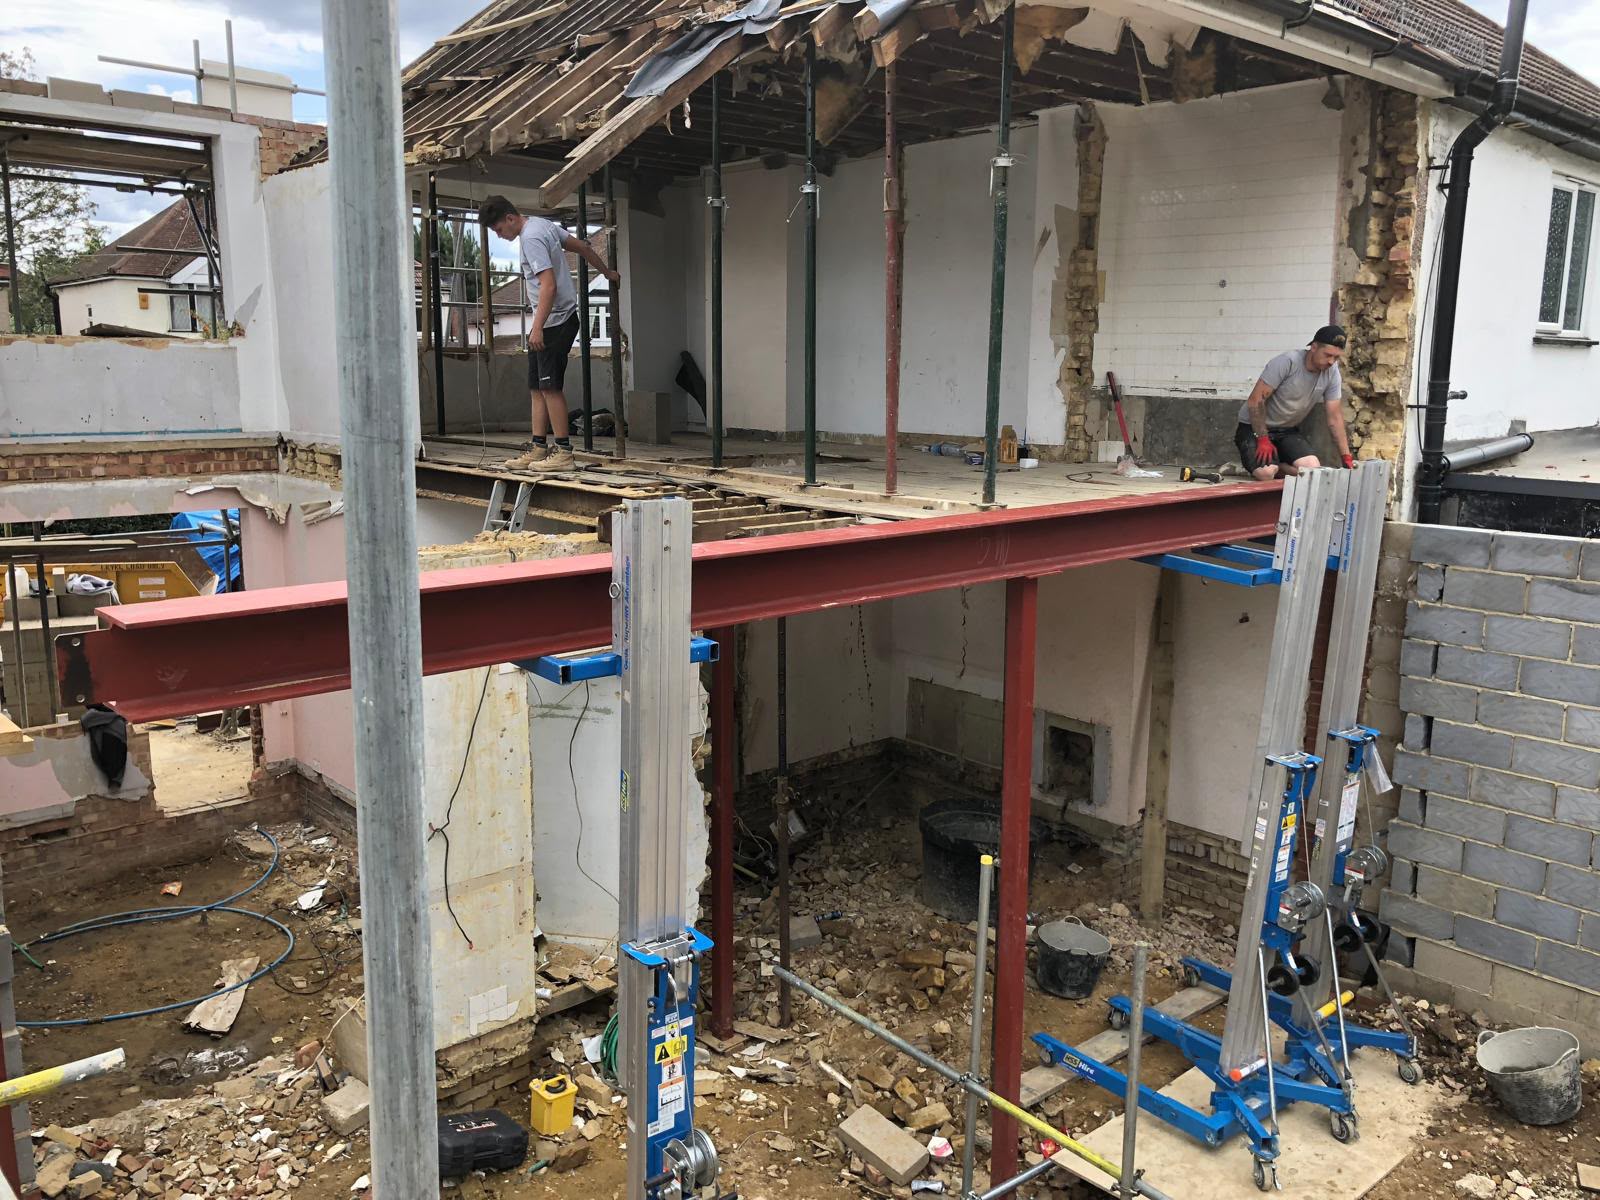
Inside, the new floor joists are carried on steel beams and columns, so the weight of the new loft goes down to the foundations instead of onto the rooms below.
05Hips and dormer frame
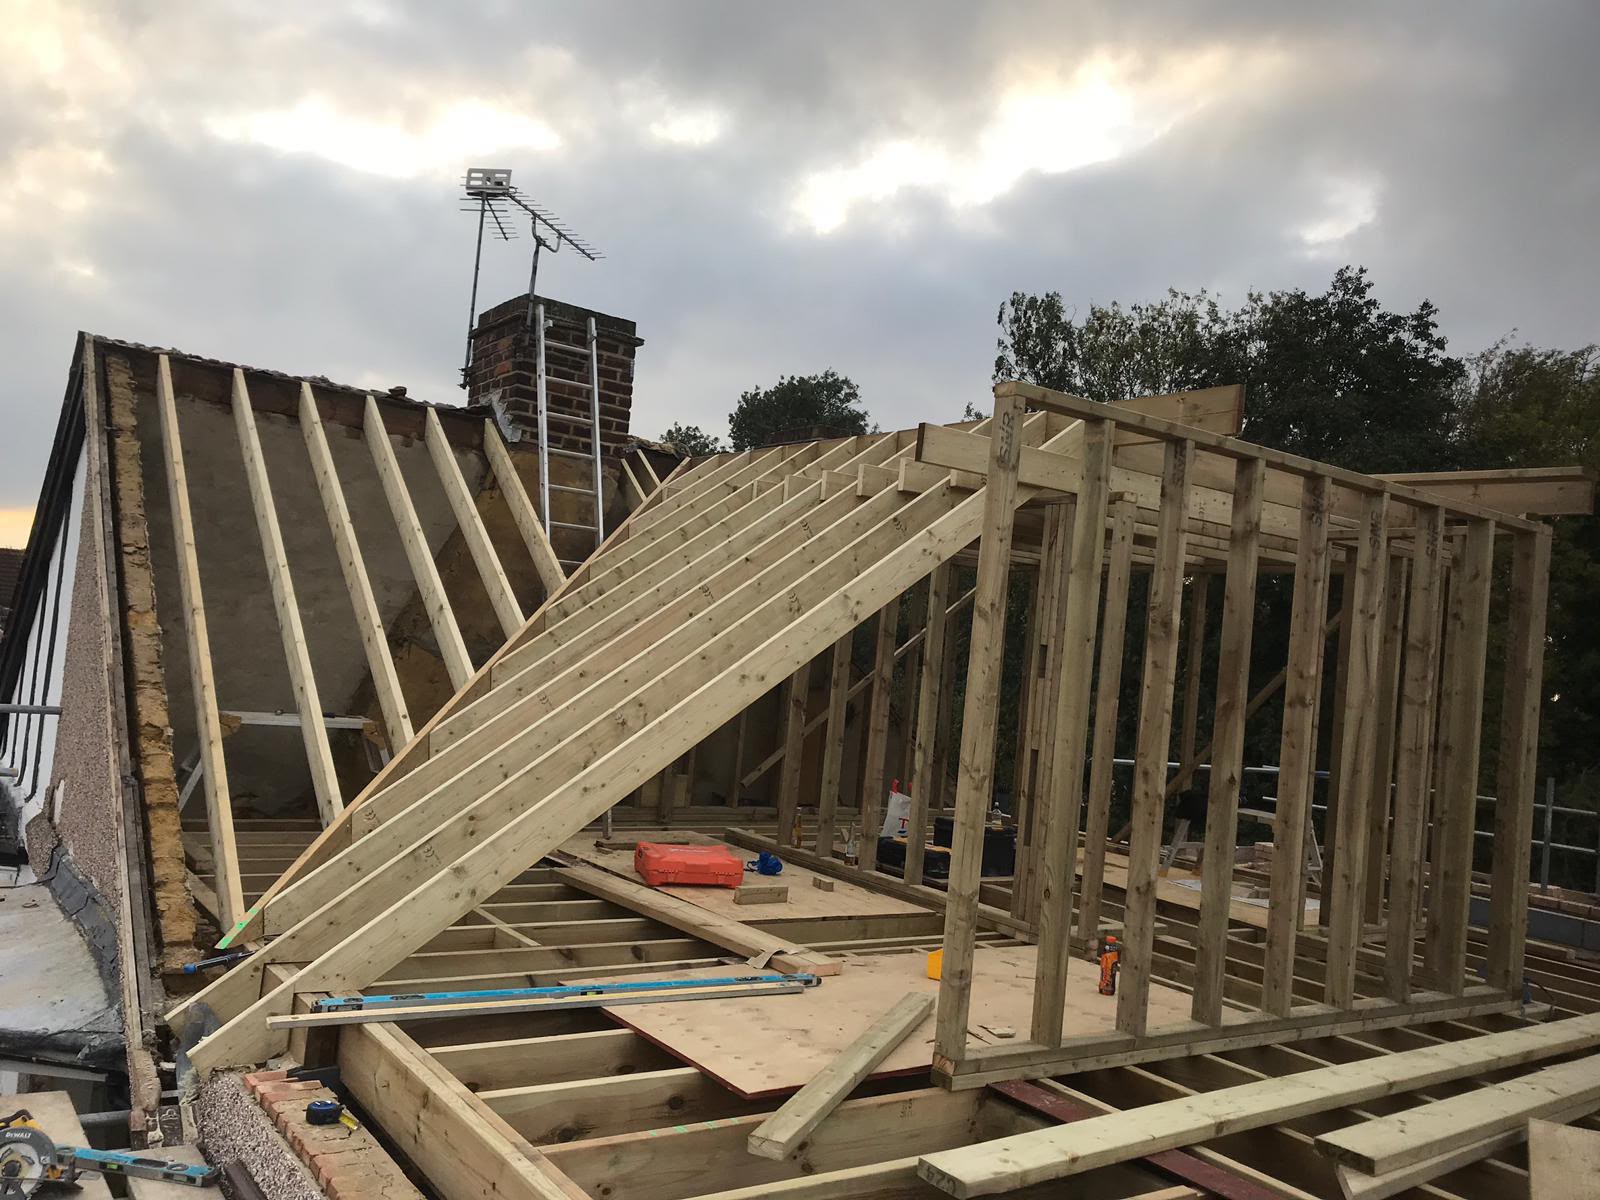
The full roof frame in daylight: hips and rafters cut in, the dormer box framed with its flat roof joists on top, and the loft floor joists running out across the walls.
06Tying into the old roof
New rafters tying the new roof into the existing one beside the chimney, with the dormer stud wall standing on the part-boarded loft floor.
07Inside the roof
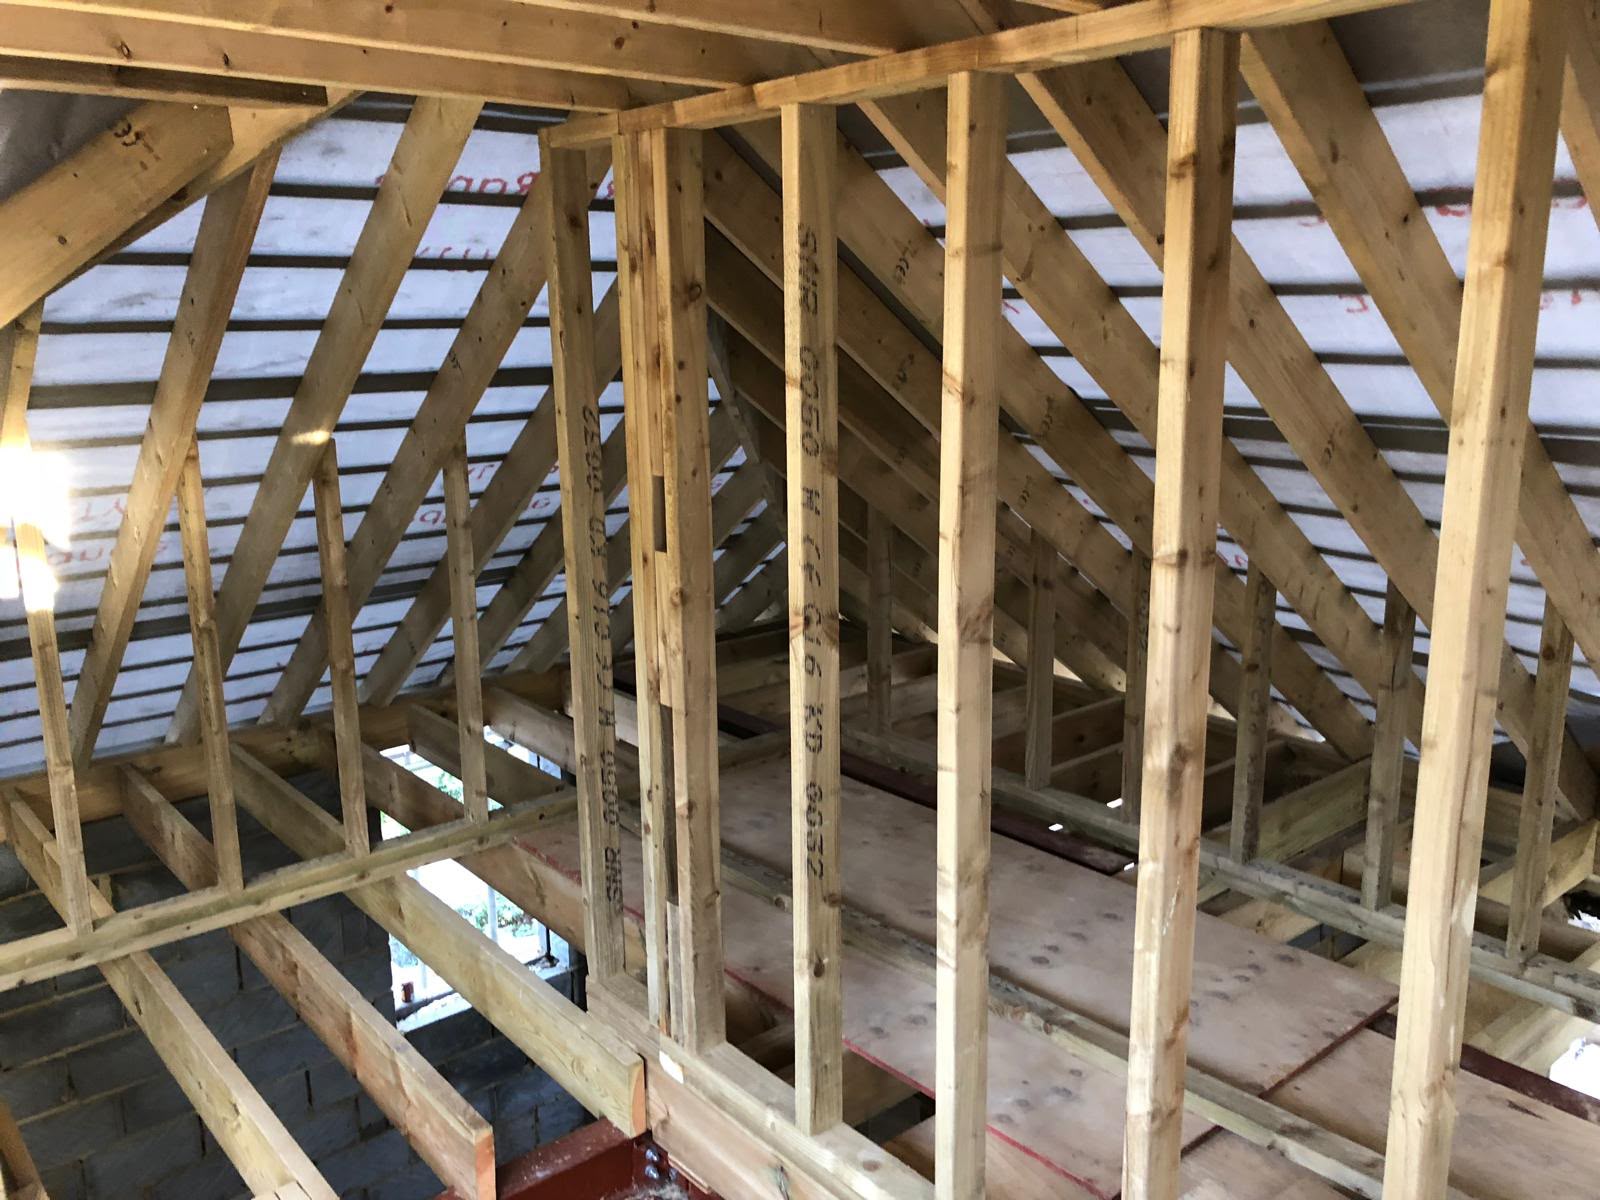
Inside the new roof before insulation: rafters, stud partitions and the membrane behind them, showing the height the dormer gives across the new floor.
08Dormer walls going up
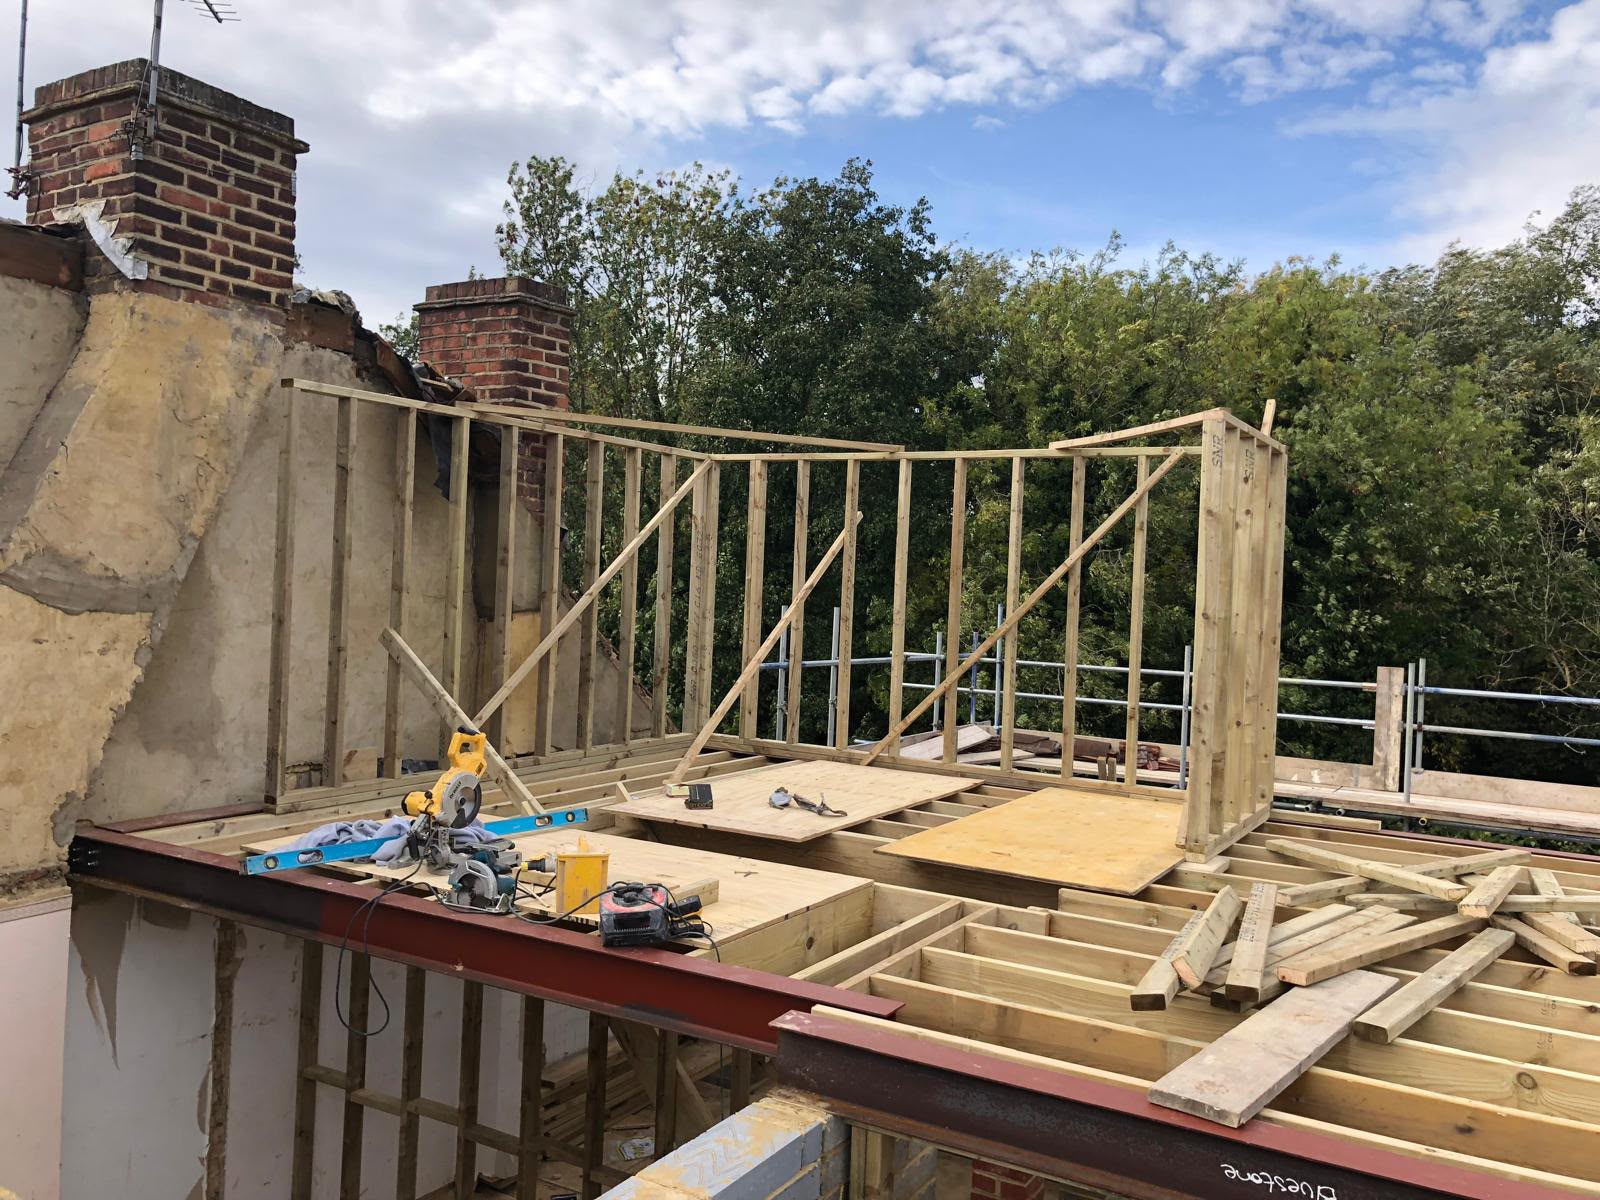
The dormer walls framed off the new floor, which sits on steels across the back of the house. The original chimneys stay, with the old roof stripped back beside them.
09Opening up the back
Early in the job: the rear of the house opened up to first floor, the floor above propped, and a new steel beam lifted into place on hoists to carry the structure.
A nineteen square metre double bedroom with an en suite shower room, and a roof line the conservation officer signed off first time.
Other houses we have worked on
Tell us what you are trying to do with the house.
We will come out, measure up and tell you honestly whether it works. The site visit and the written quotation are free, and there is no obligation attached to either.