
Commercial Damp Proofing & Waterproofing
A new commercial project for a dental practice: 60 m² of internal walls stripped back, fitted with a studded cavity wall membrane and lined in turquoise board, completed in 3 days.
- Property
- Commercial dental practice
- On site
- 3 days
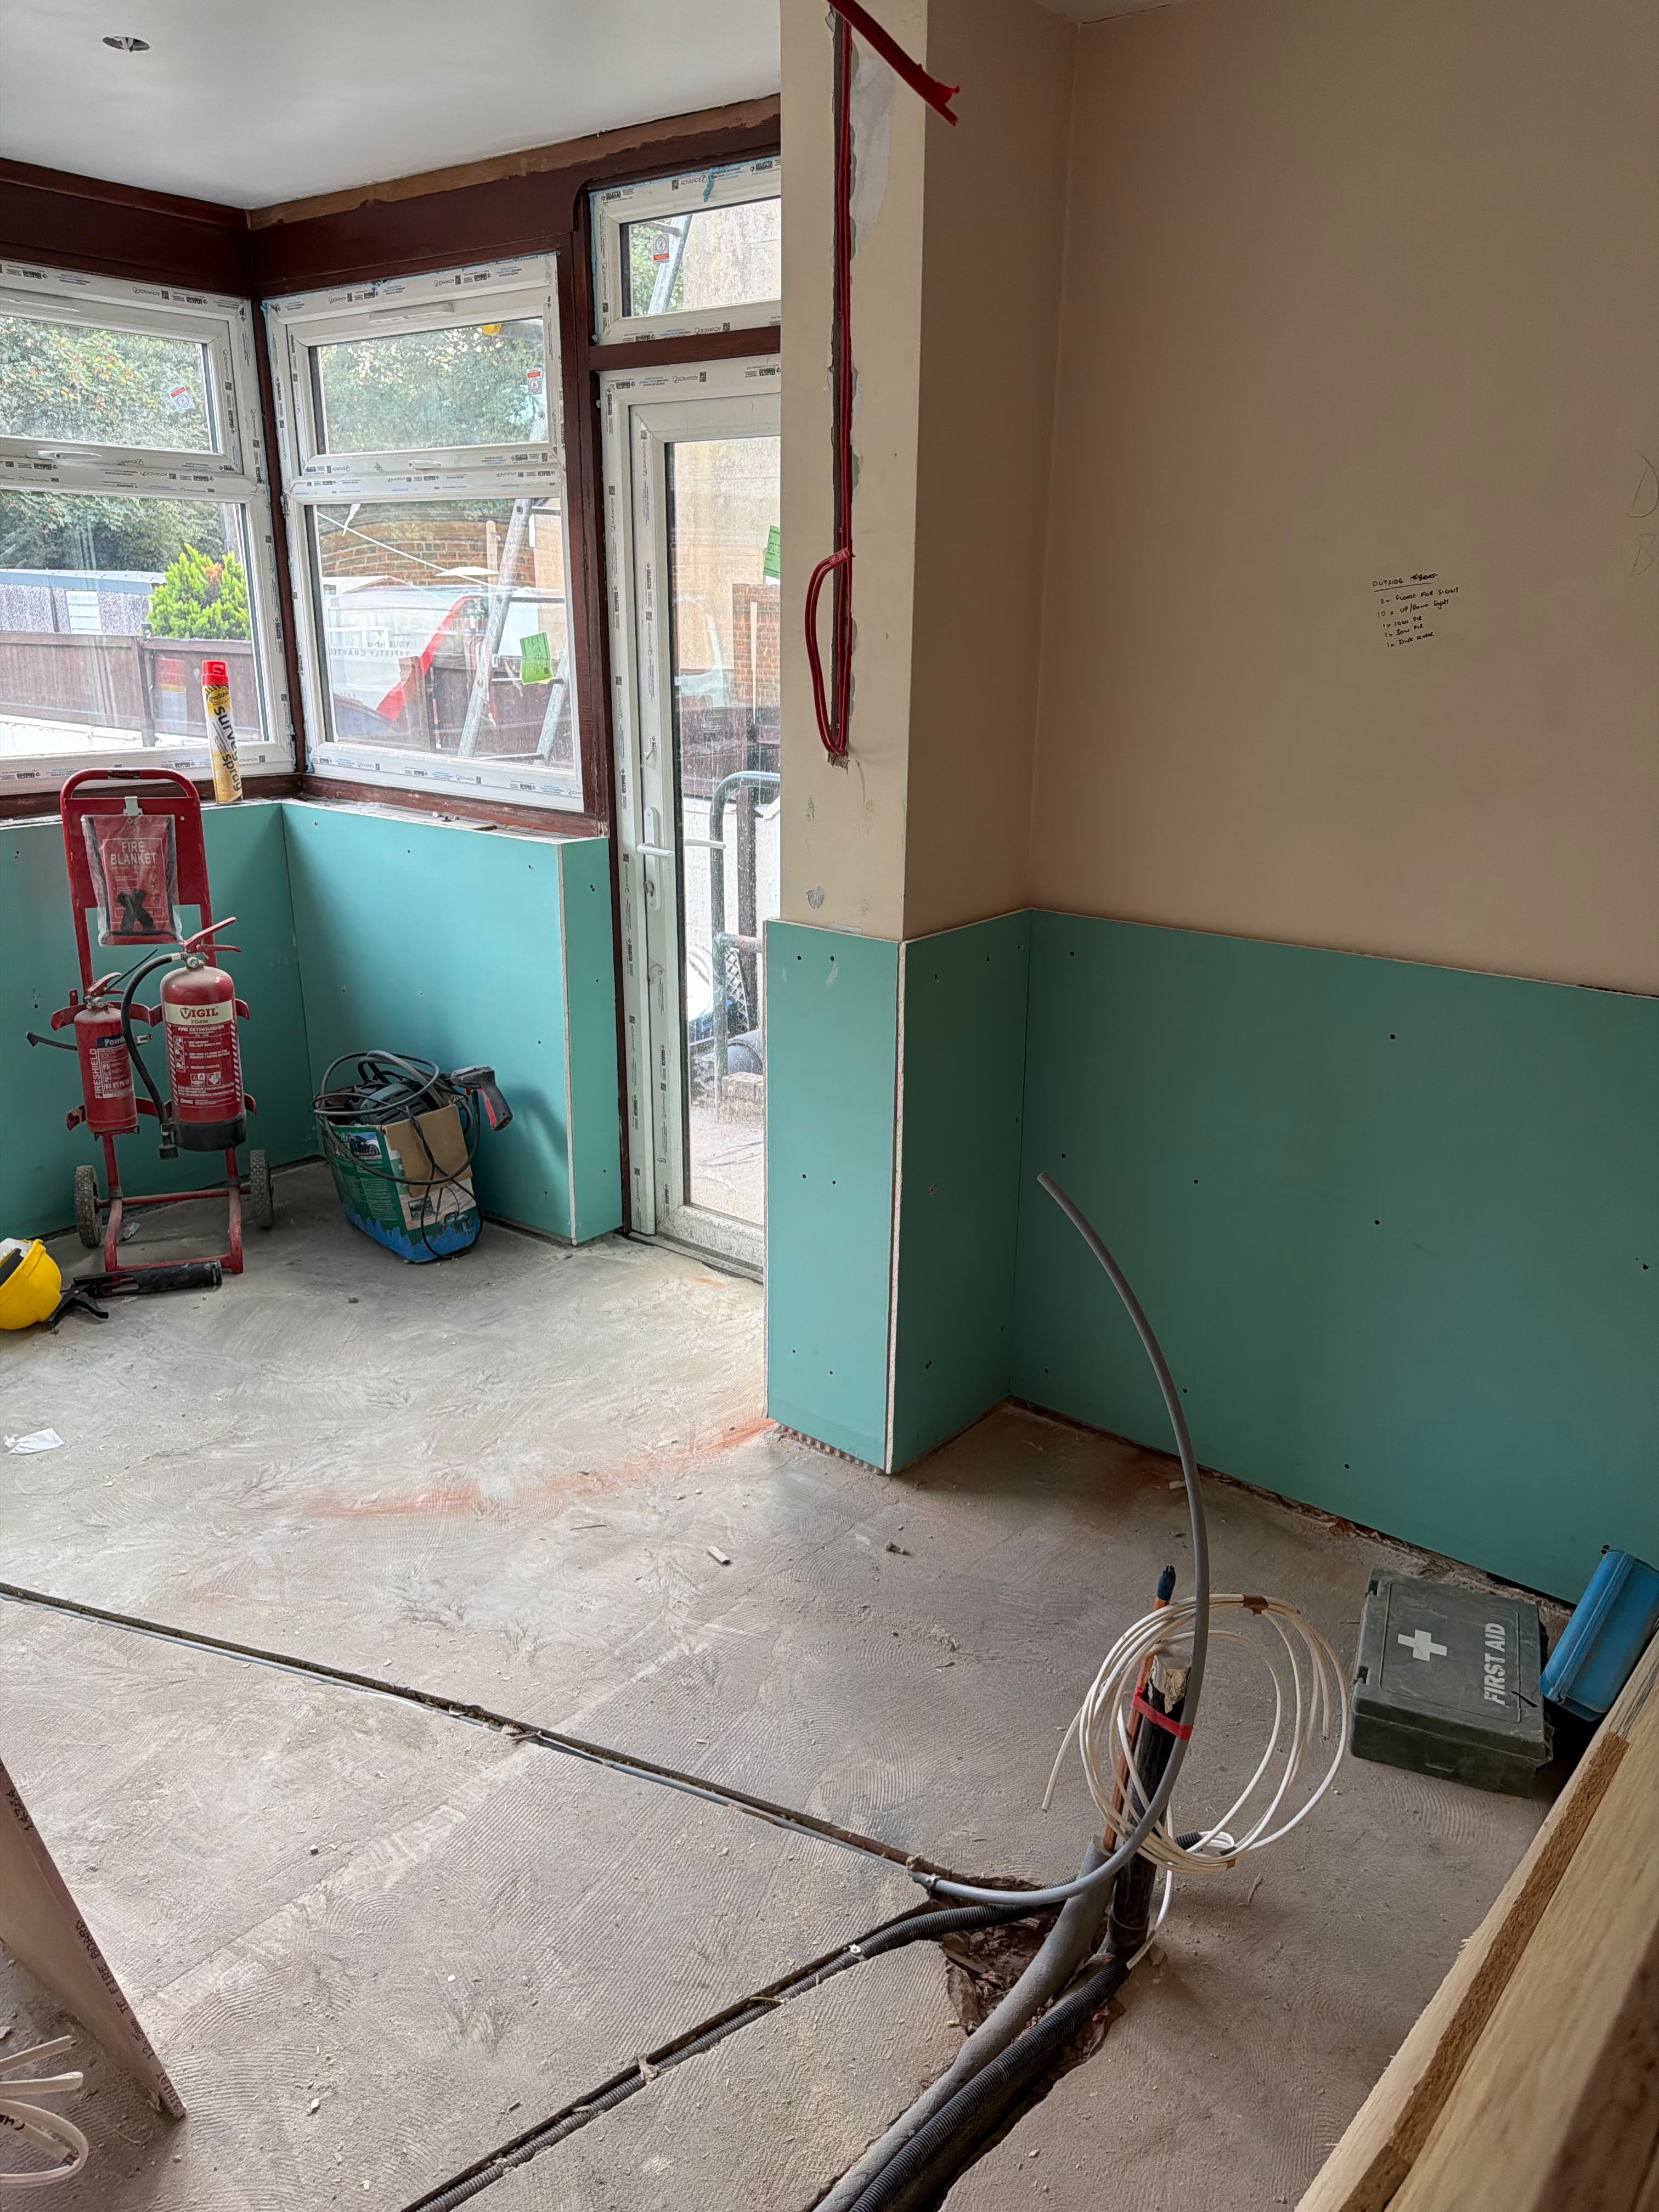
A new commercial project for a dental practice. 60 m² of lower walls across several rooms and a corridor needed a damp proofing and waterproofing system installed before the premises could be refurbished, so the new finishes would not go straight back onto the old wall surface.
The work began by stripping the walls back at low level. Old tiles and damaged plaster came off and the base of each wall was opened up, with the existing pipework and cabling kept clear and marked up as the work went round.
A studded cavity wall membrane was then fixed to the walls with plugs, cut and fitted round corners, window boards and pipework, with the joints and corners taped. With the membrane in, turquoise boards were fixed over it along the lower walls. The full 60 m² installation was completed in 3 days.
Process of work
Seven photographs in the order the work went: a wall before treatment, the walls stripped back, the cavity wall membrane going on room by room, and the turquoise boards fixed over it.
7 stages
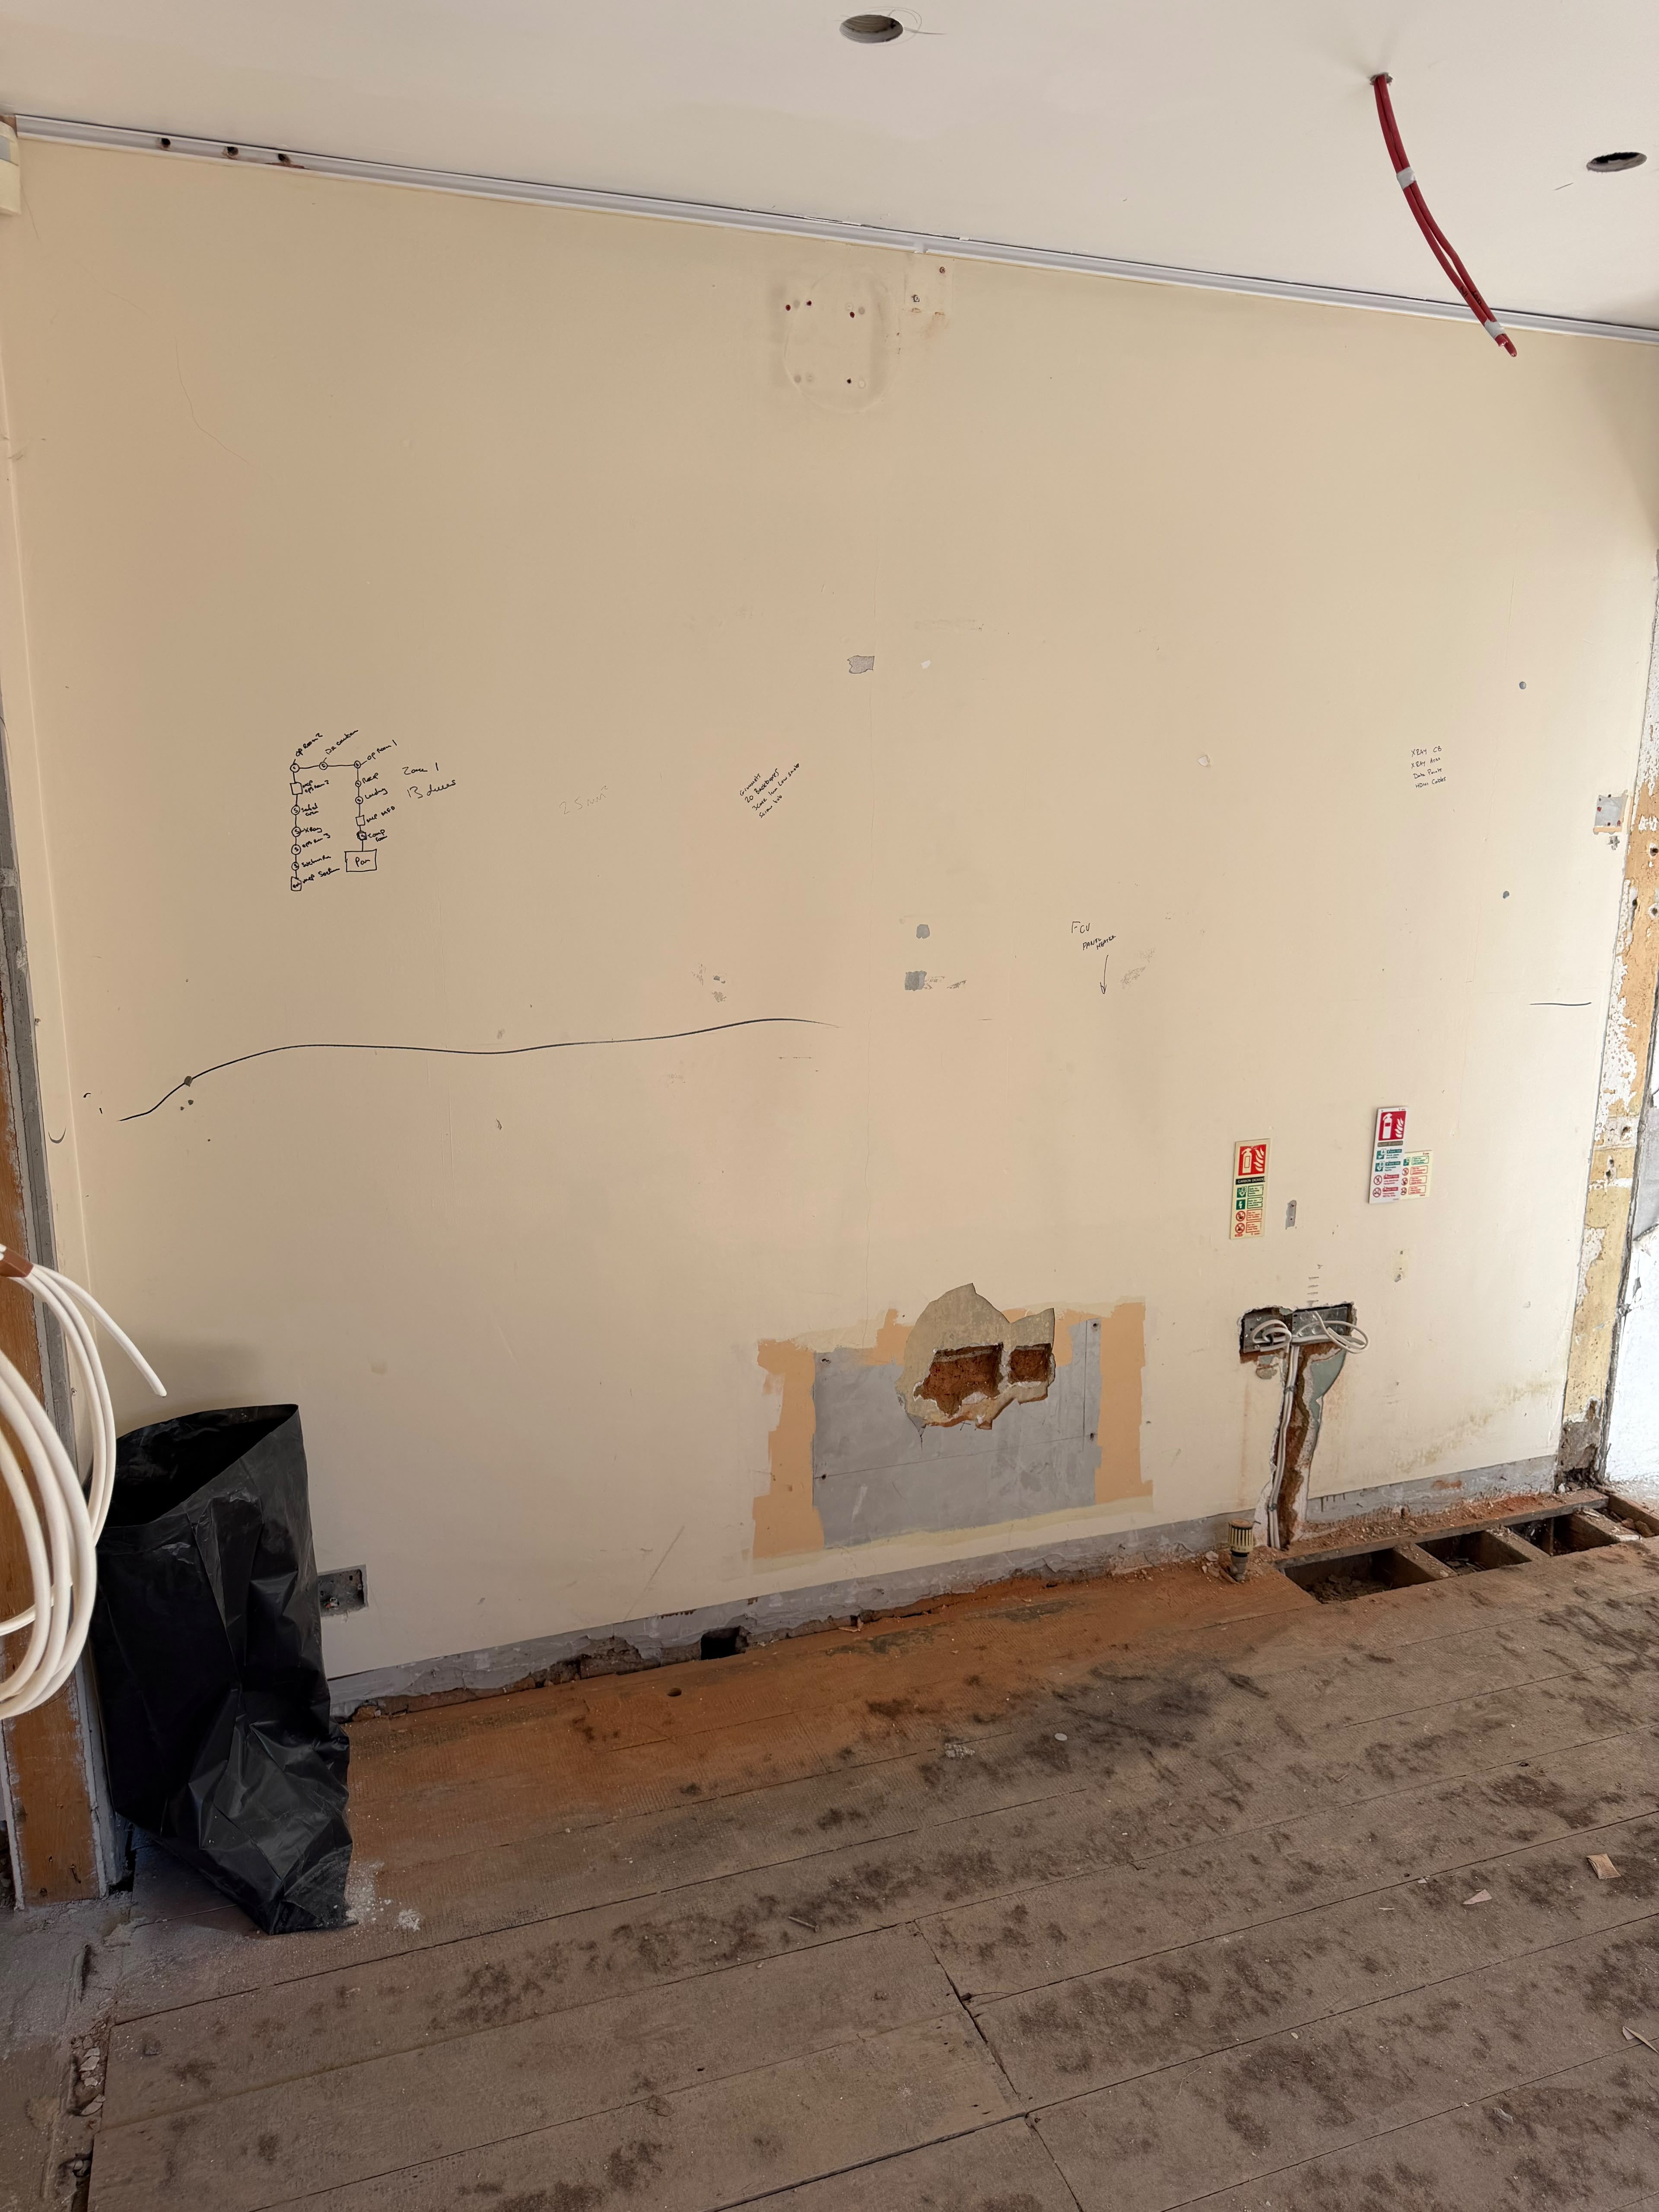
01Before the work
A wall before treatment, with the plaster broken out near its base and old patch repairs showing along the bottom of the wall.
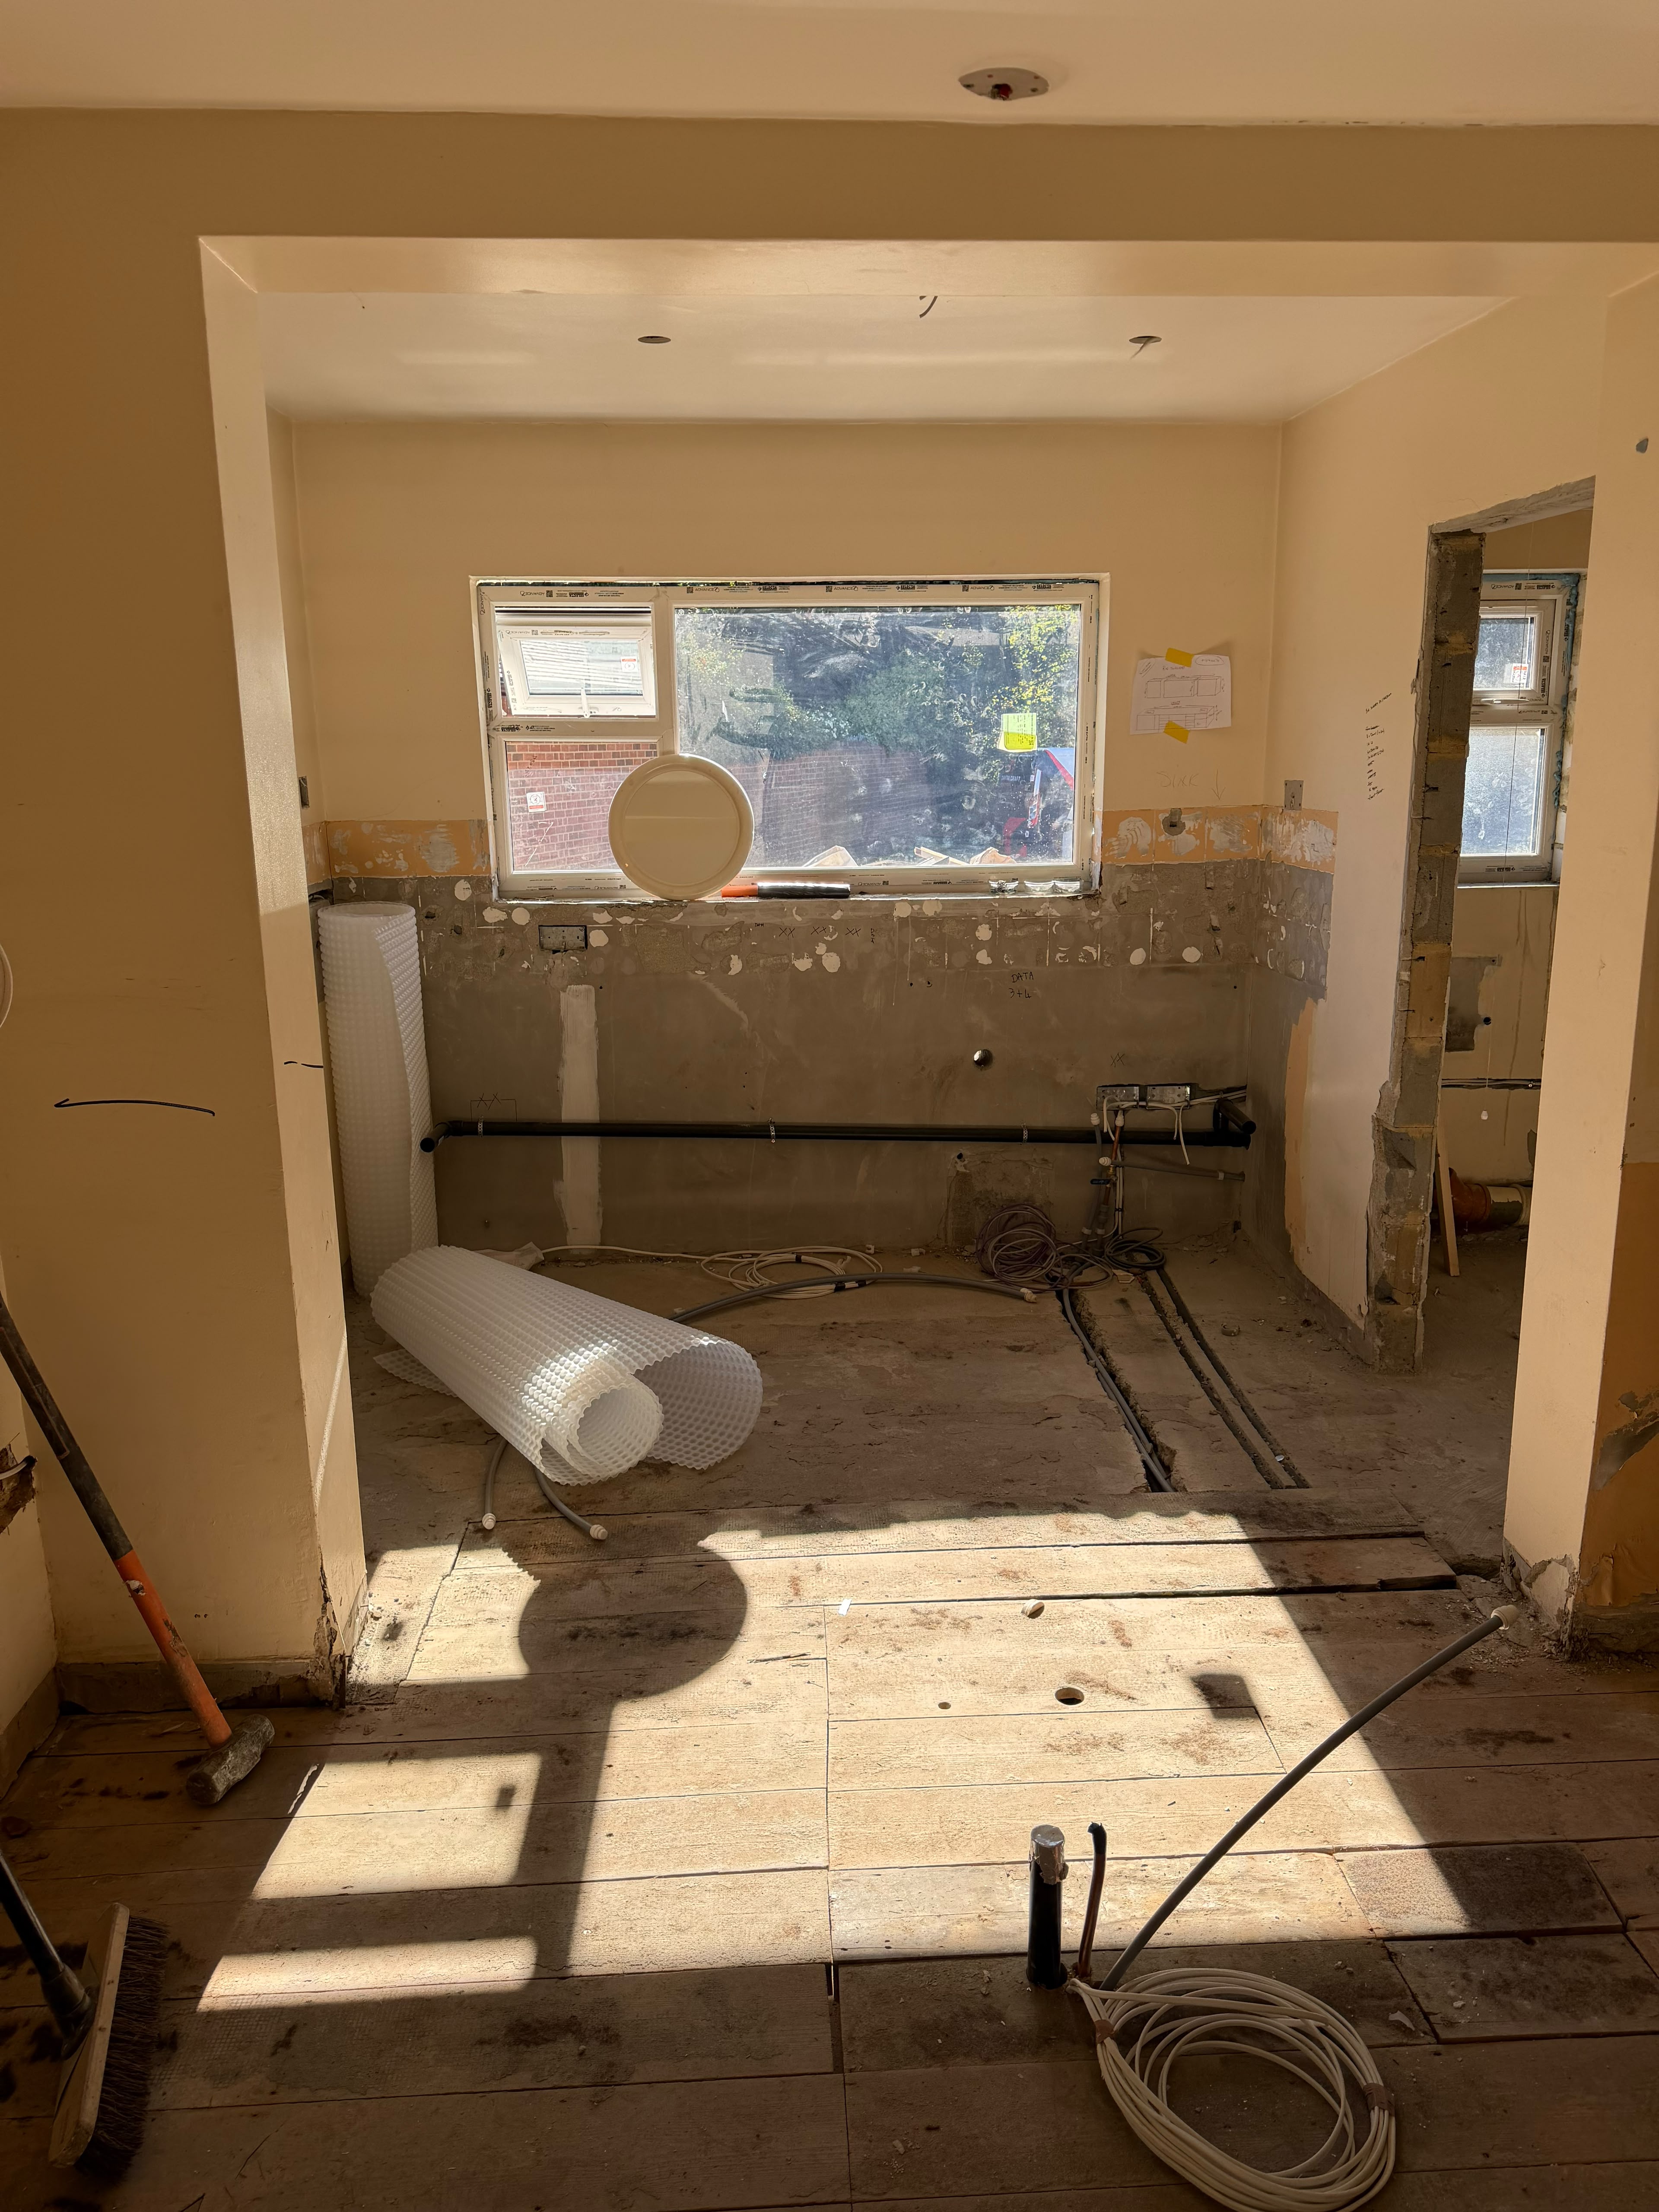
02Stripped back
The kitchen recess with its old tiles taken off and the wall stripped back, new pipework fixed along it and rolls of cavity wall membrane on site ready to go up.
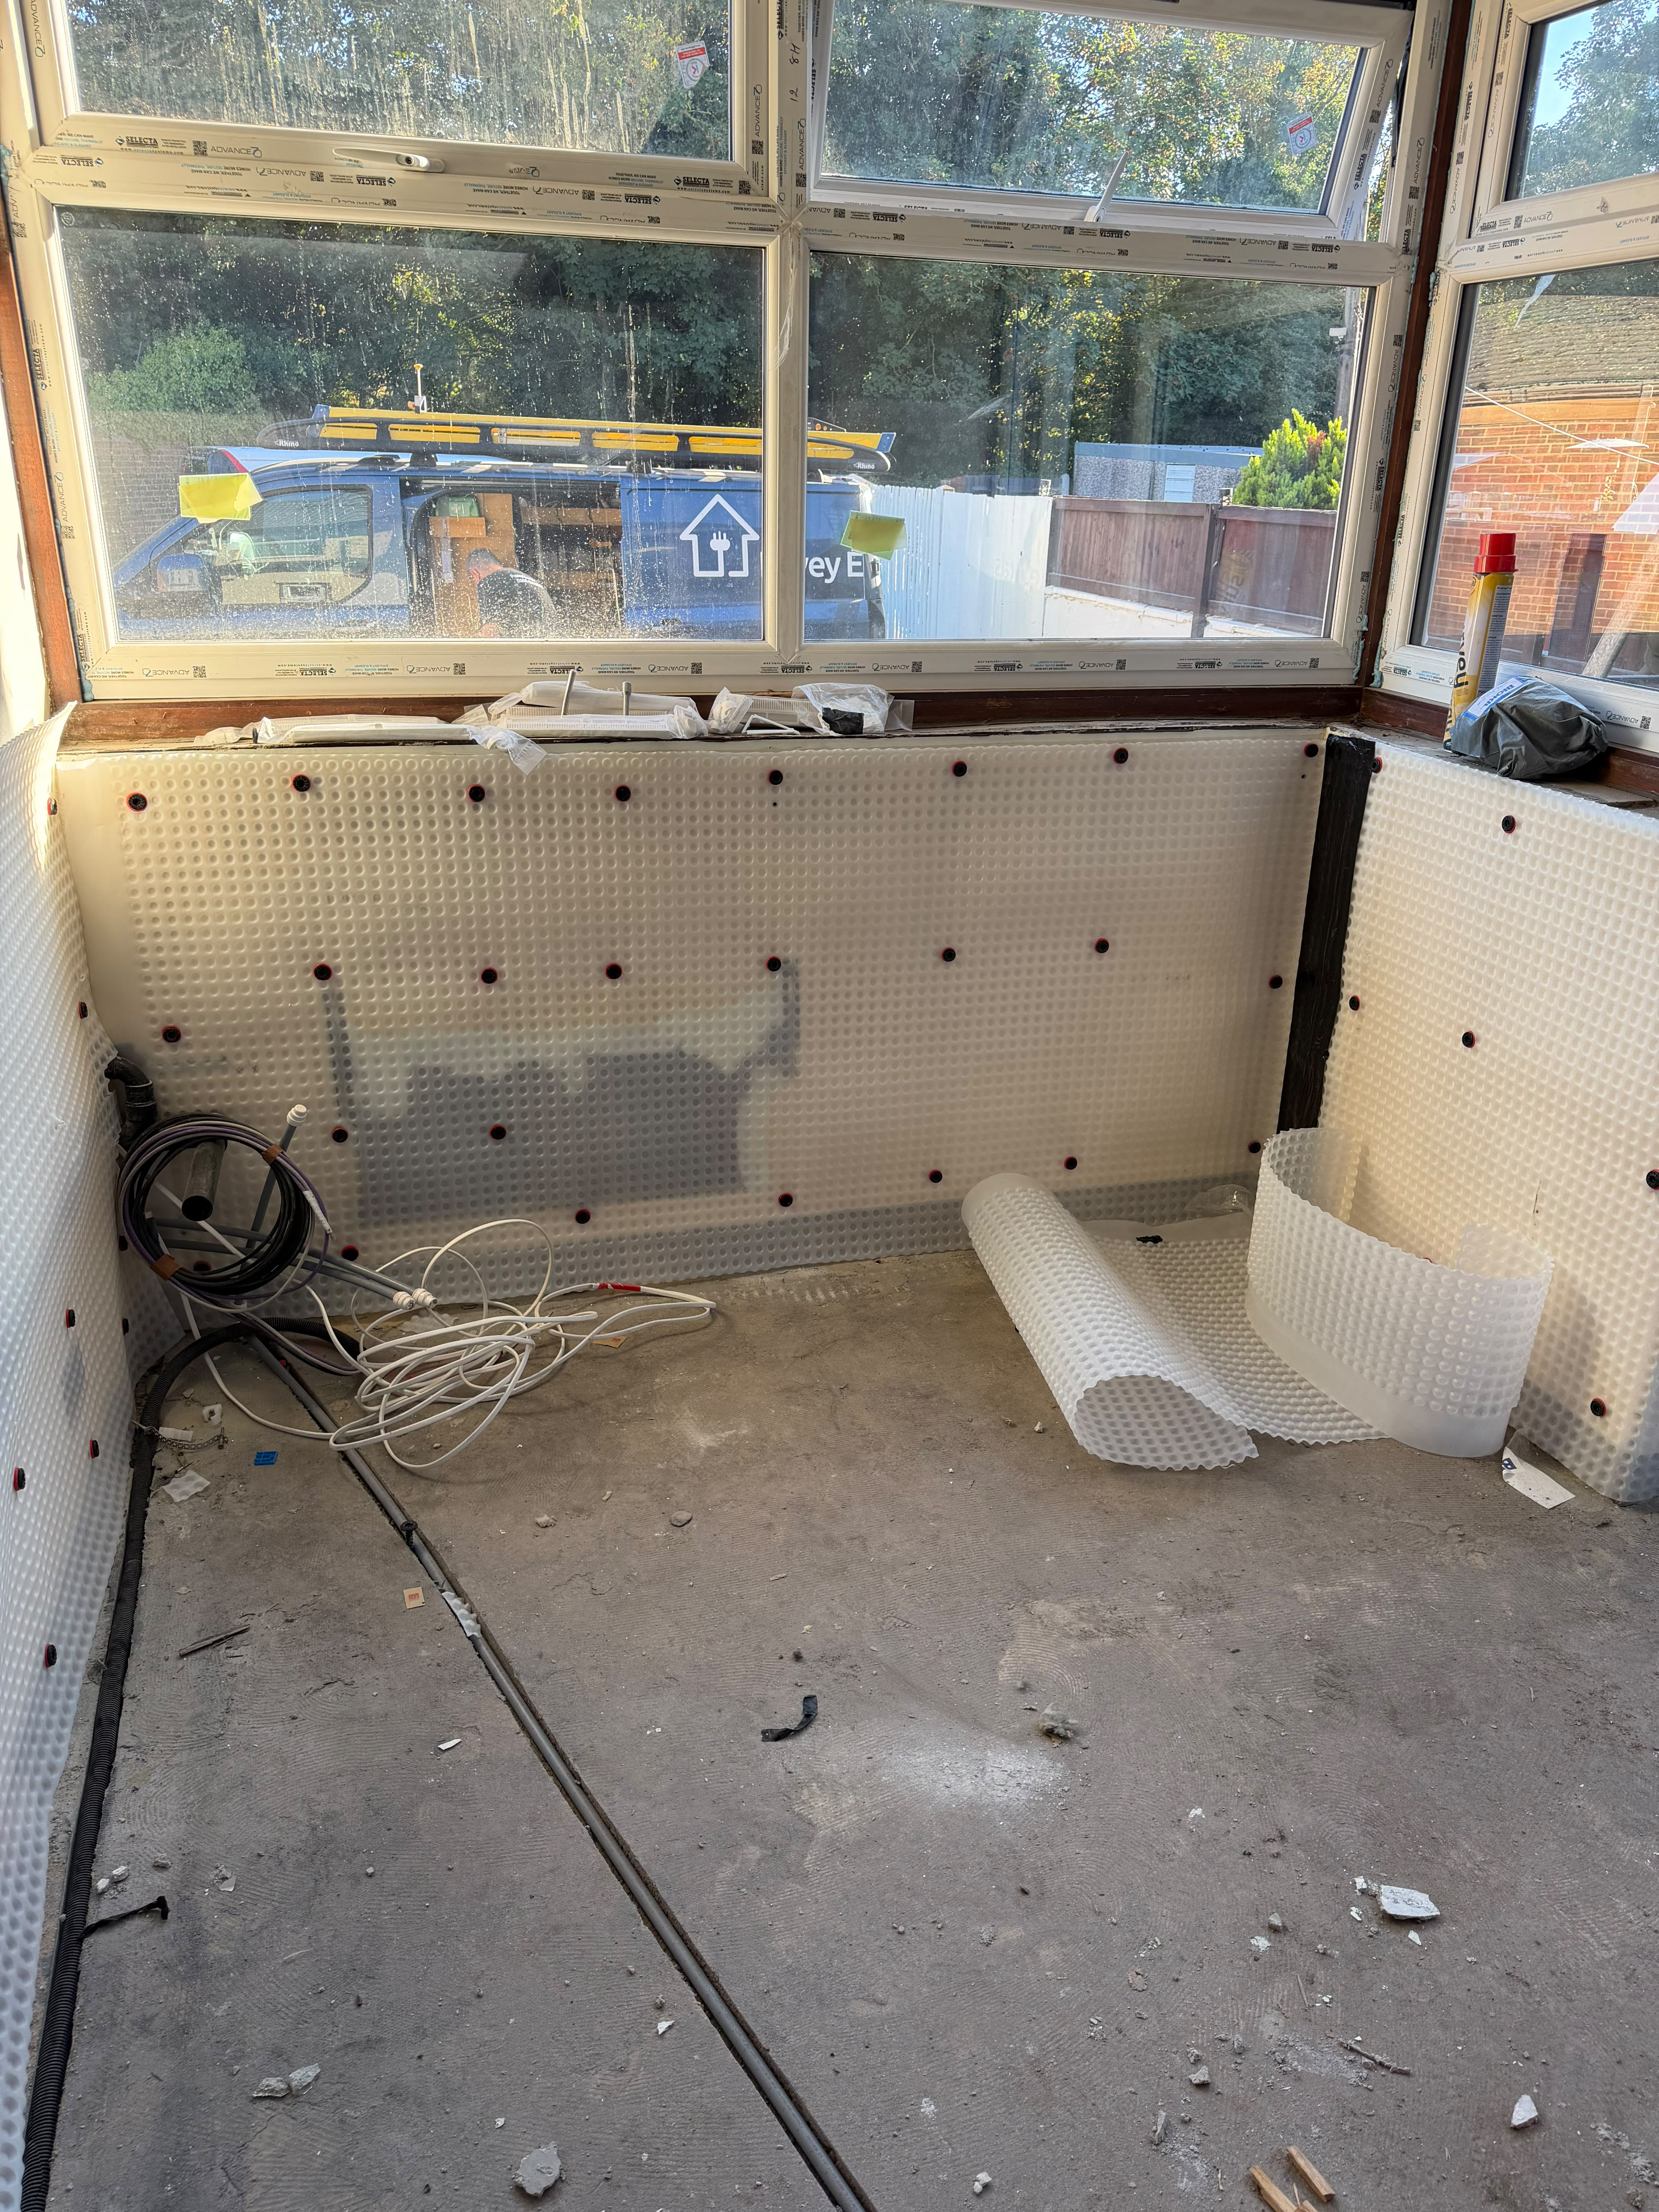
03Membrane going on
The cavity wall membrane fixed round the bay with plugs and a taped joint in the corner, with offcuts on the floor as the sheet is cut to fit.
04Corridor membraned
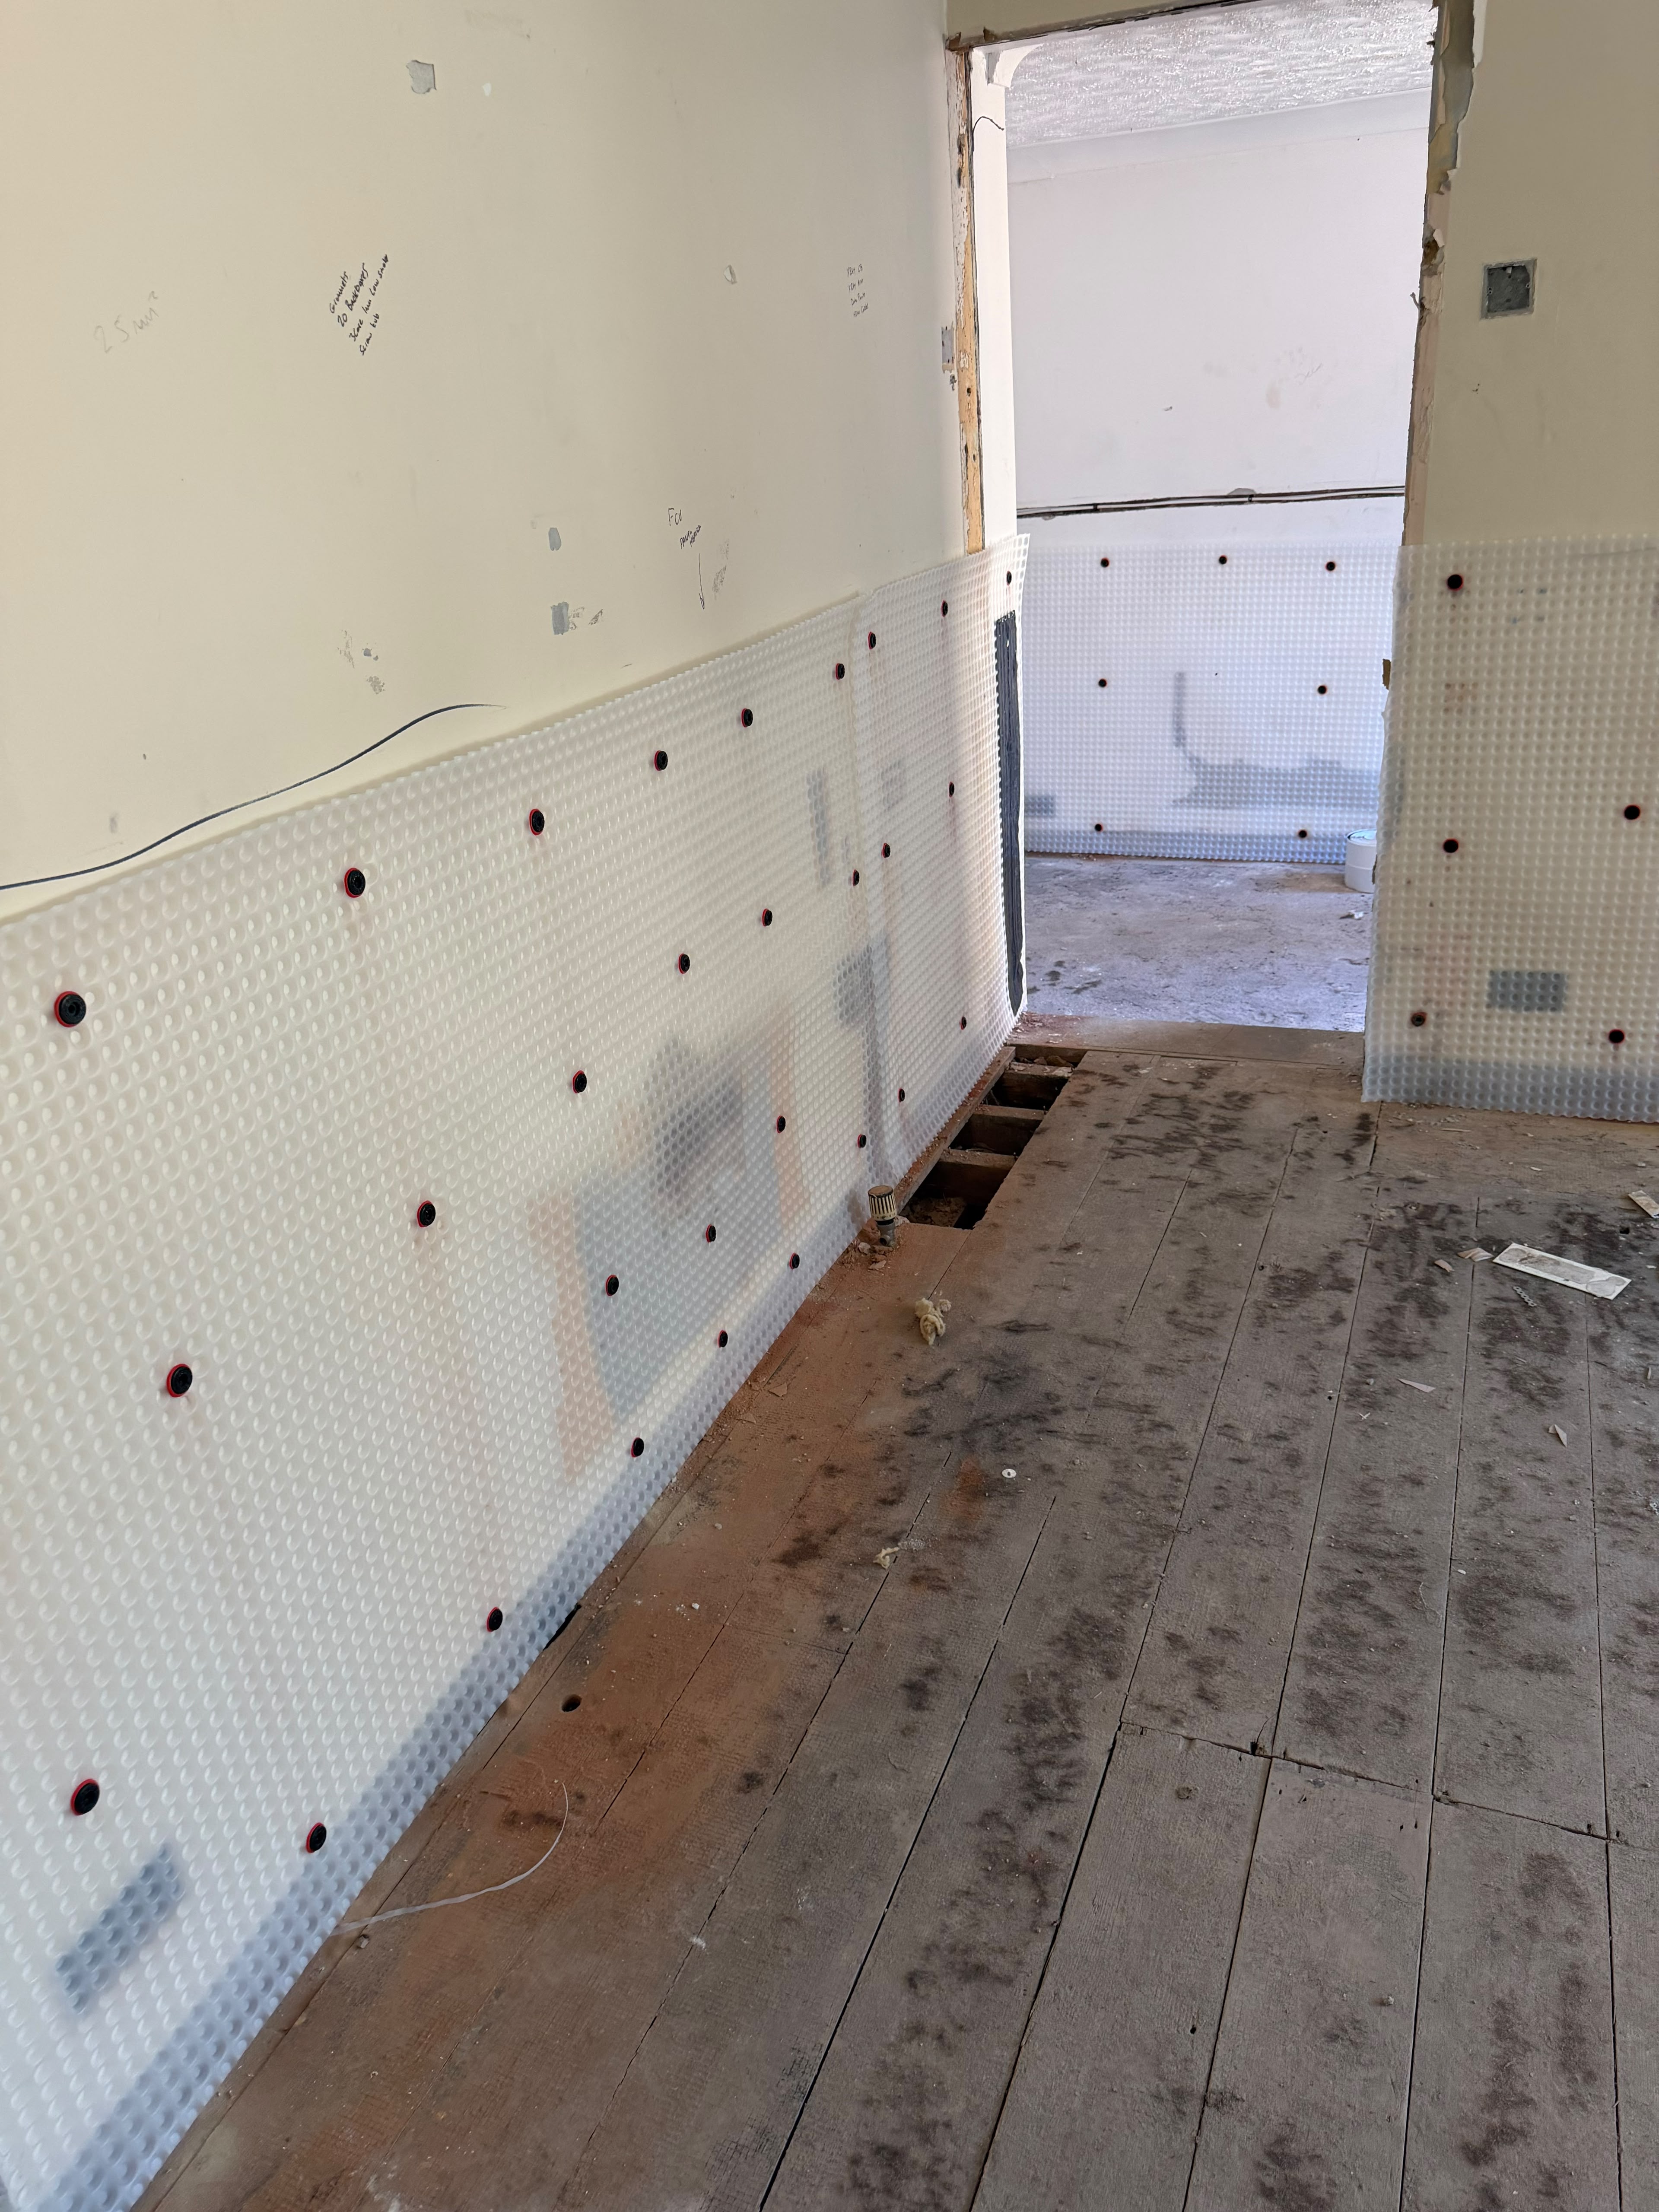
The membrane run along the corridor wall and carried on into the next room, plugged to the wall at regular centres.
05Round the pipework
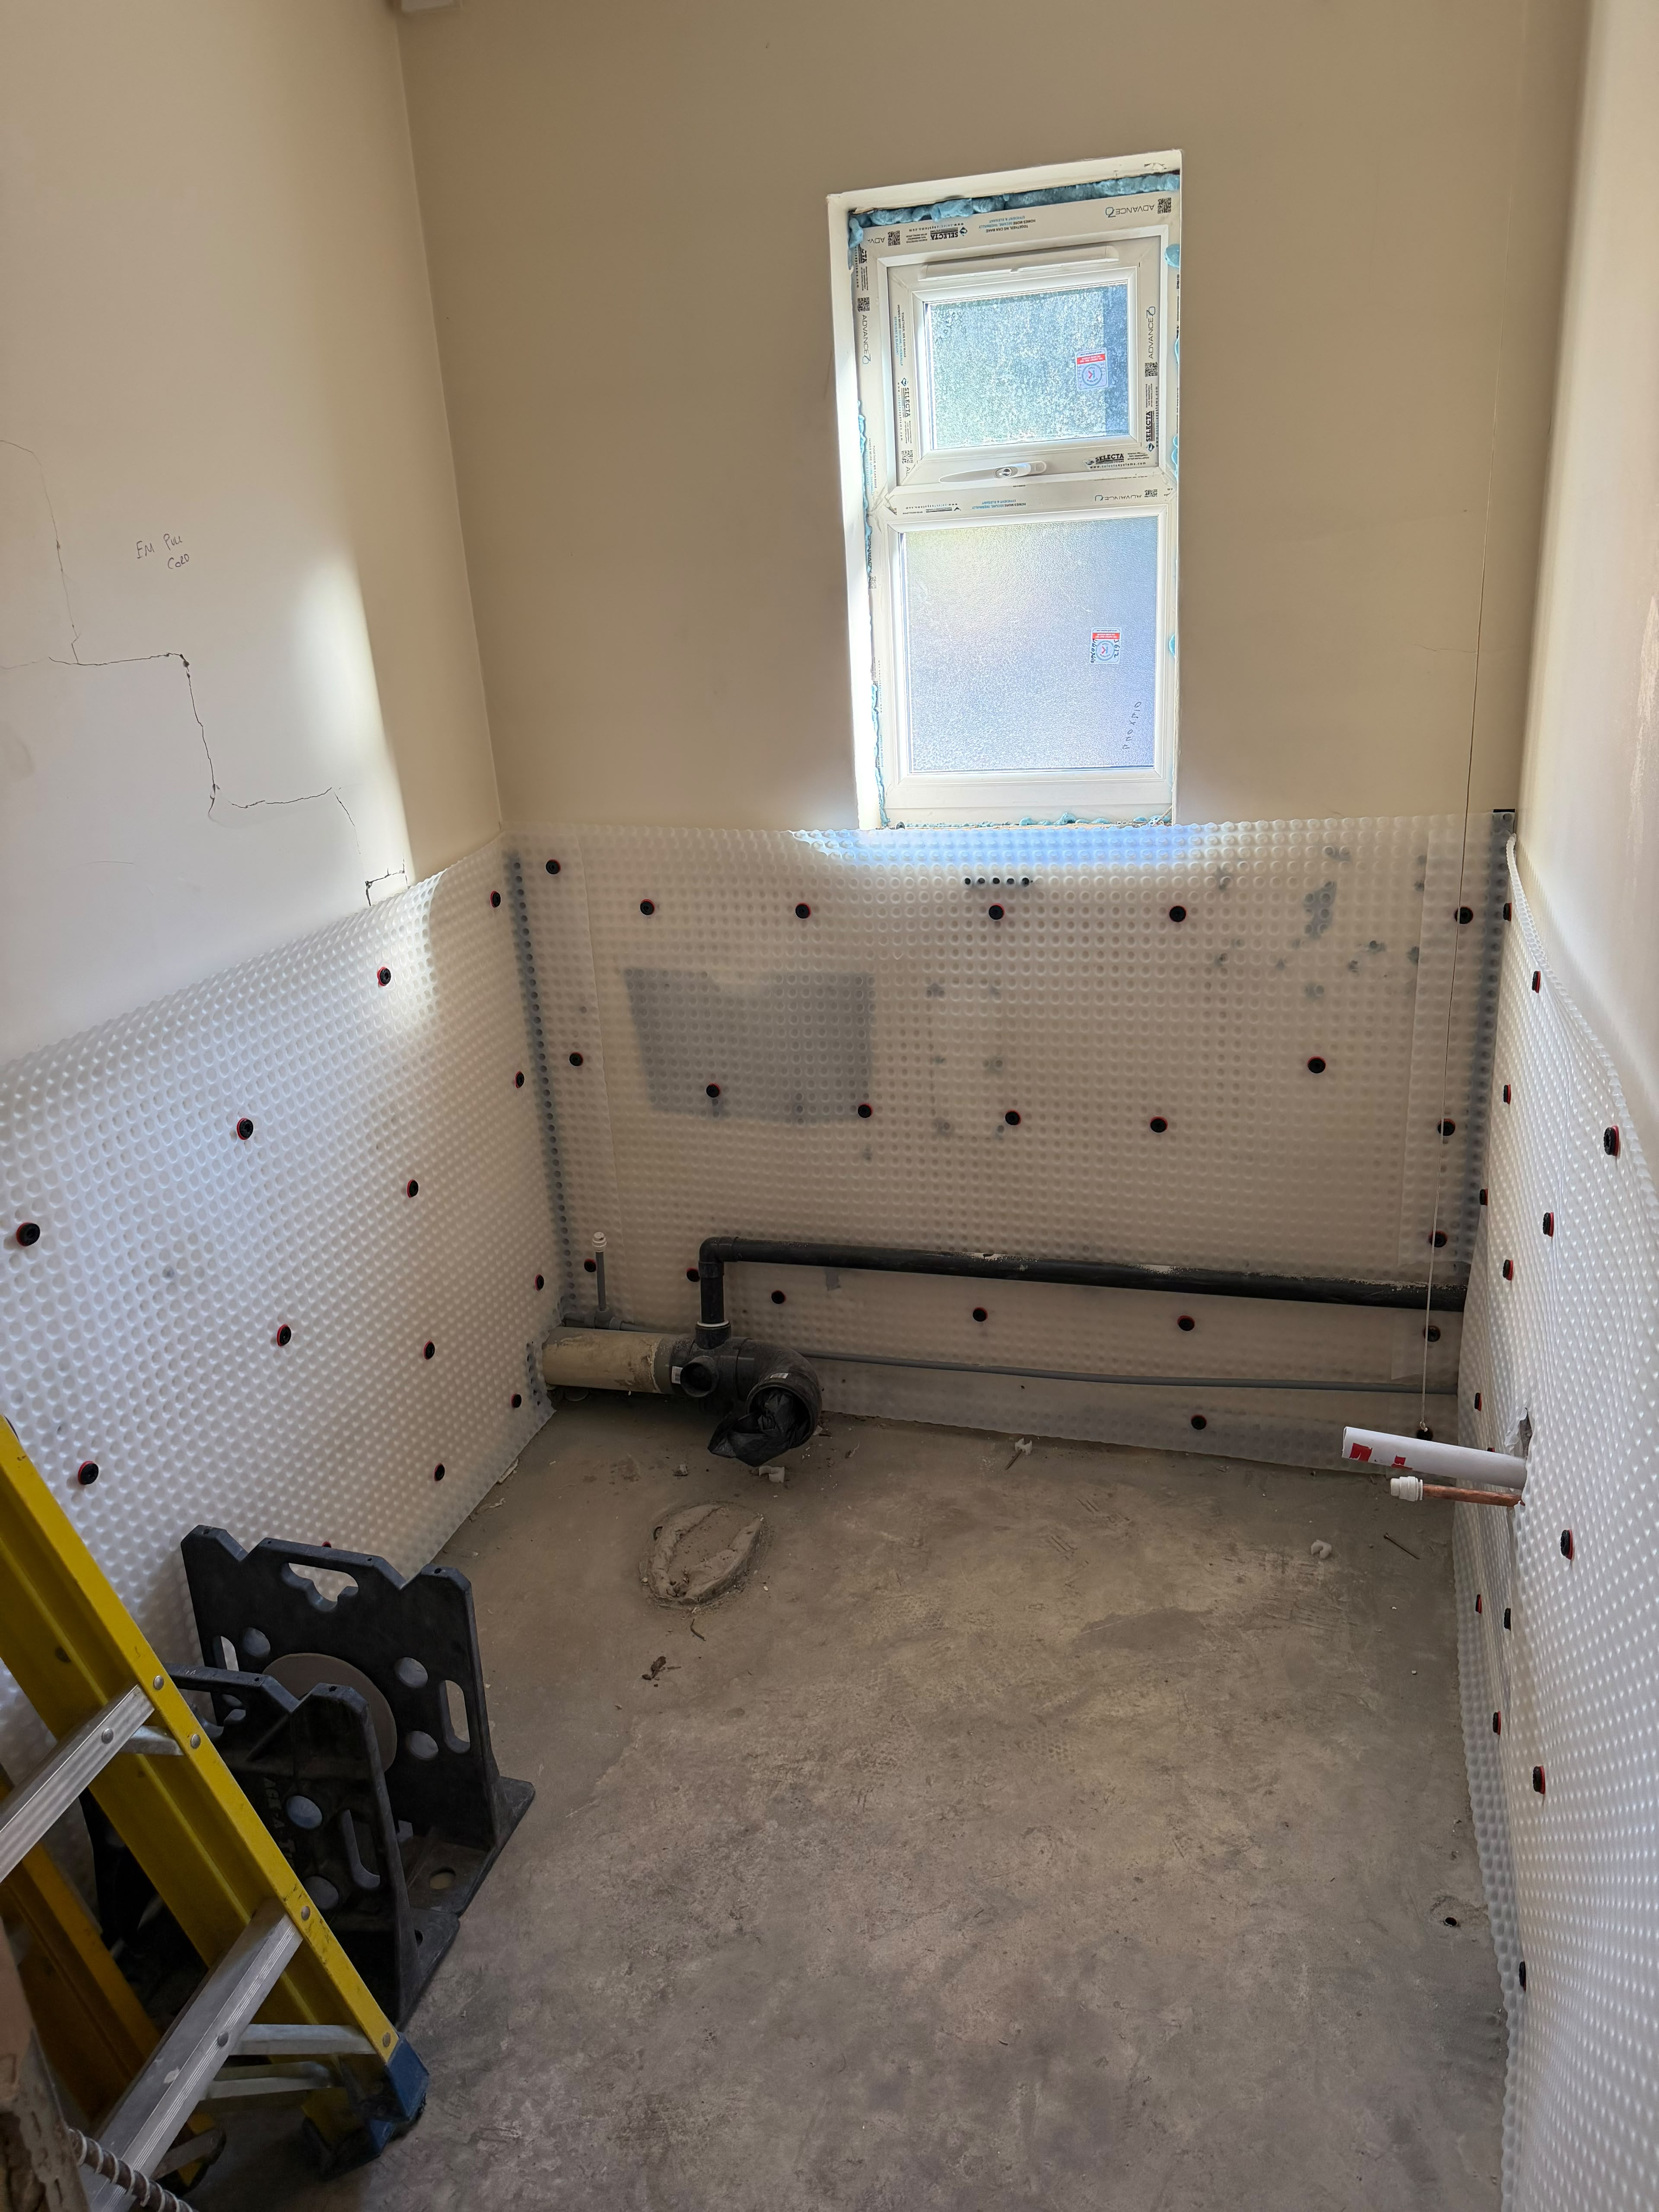
In a smaller room the membrane is cut round the waste pipe and supply pipes, with the corners taped.
06Boarded over
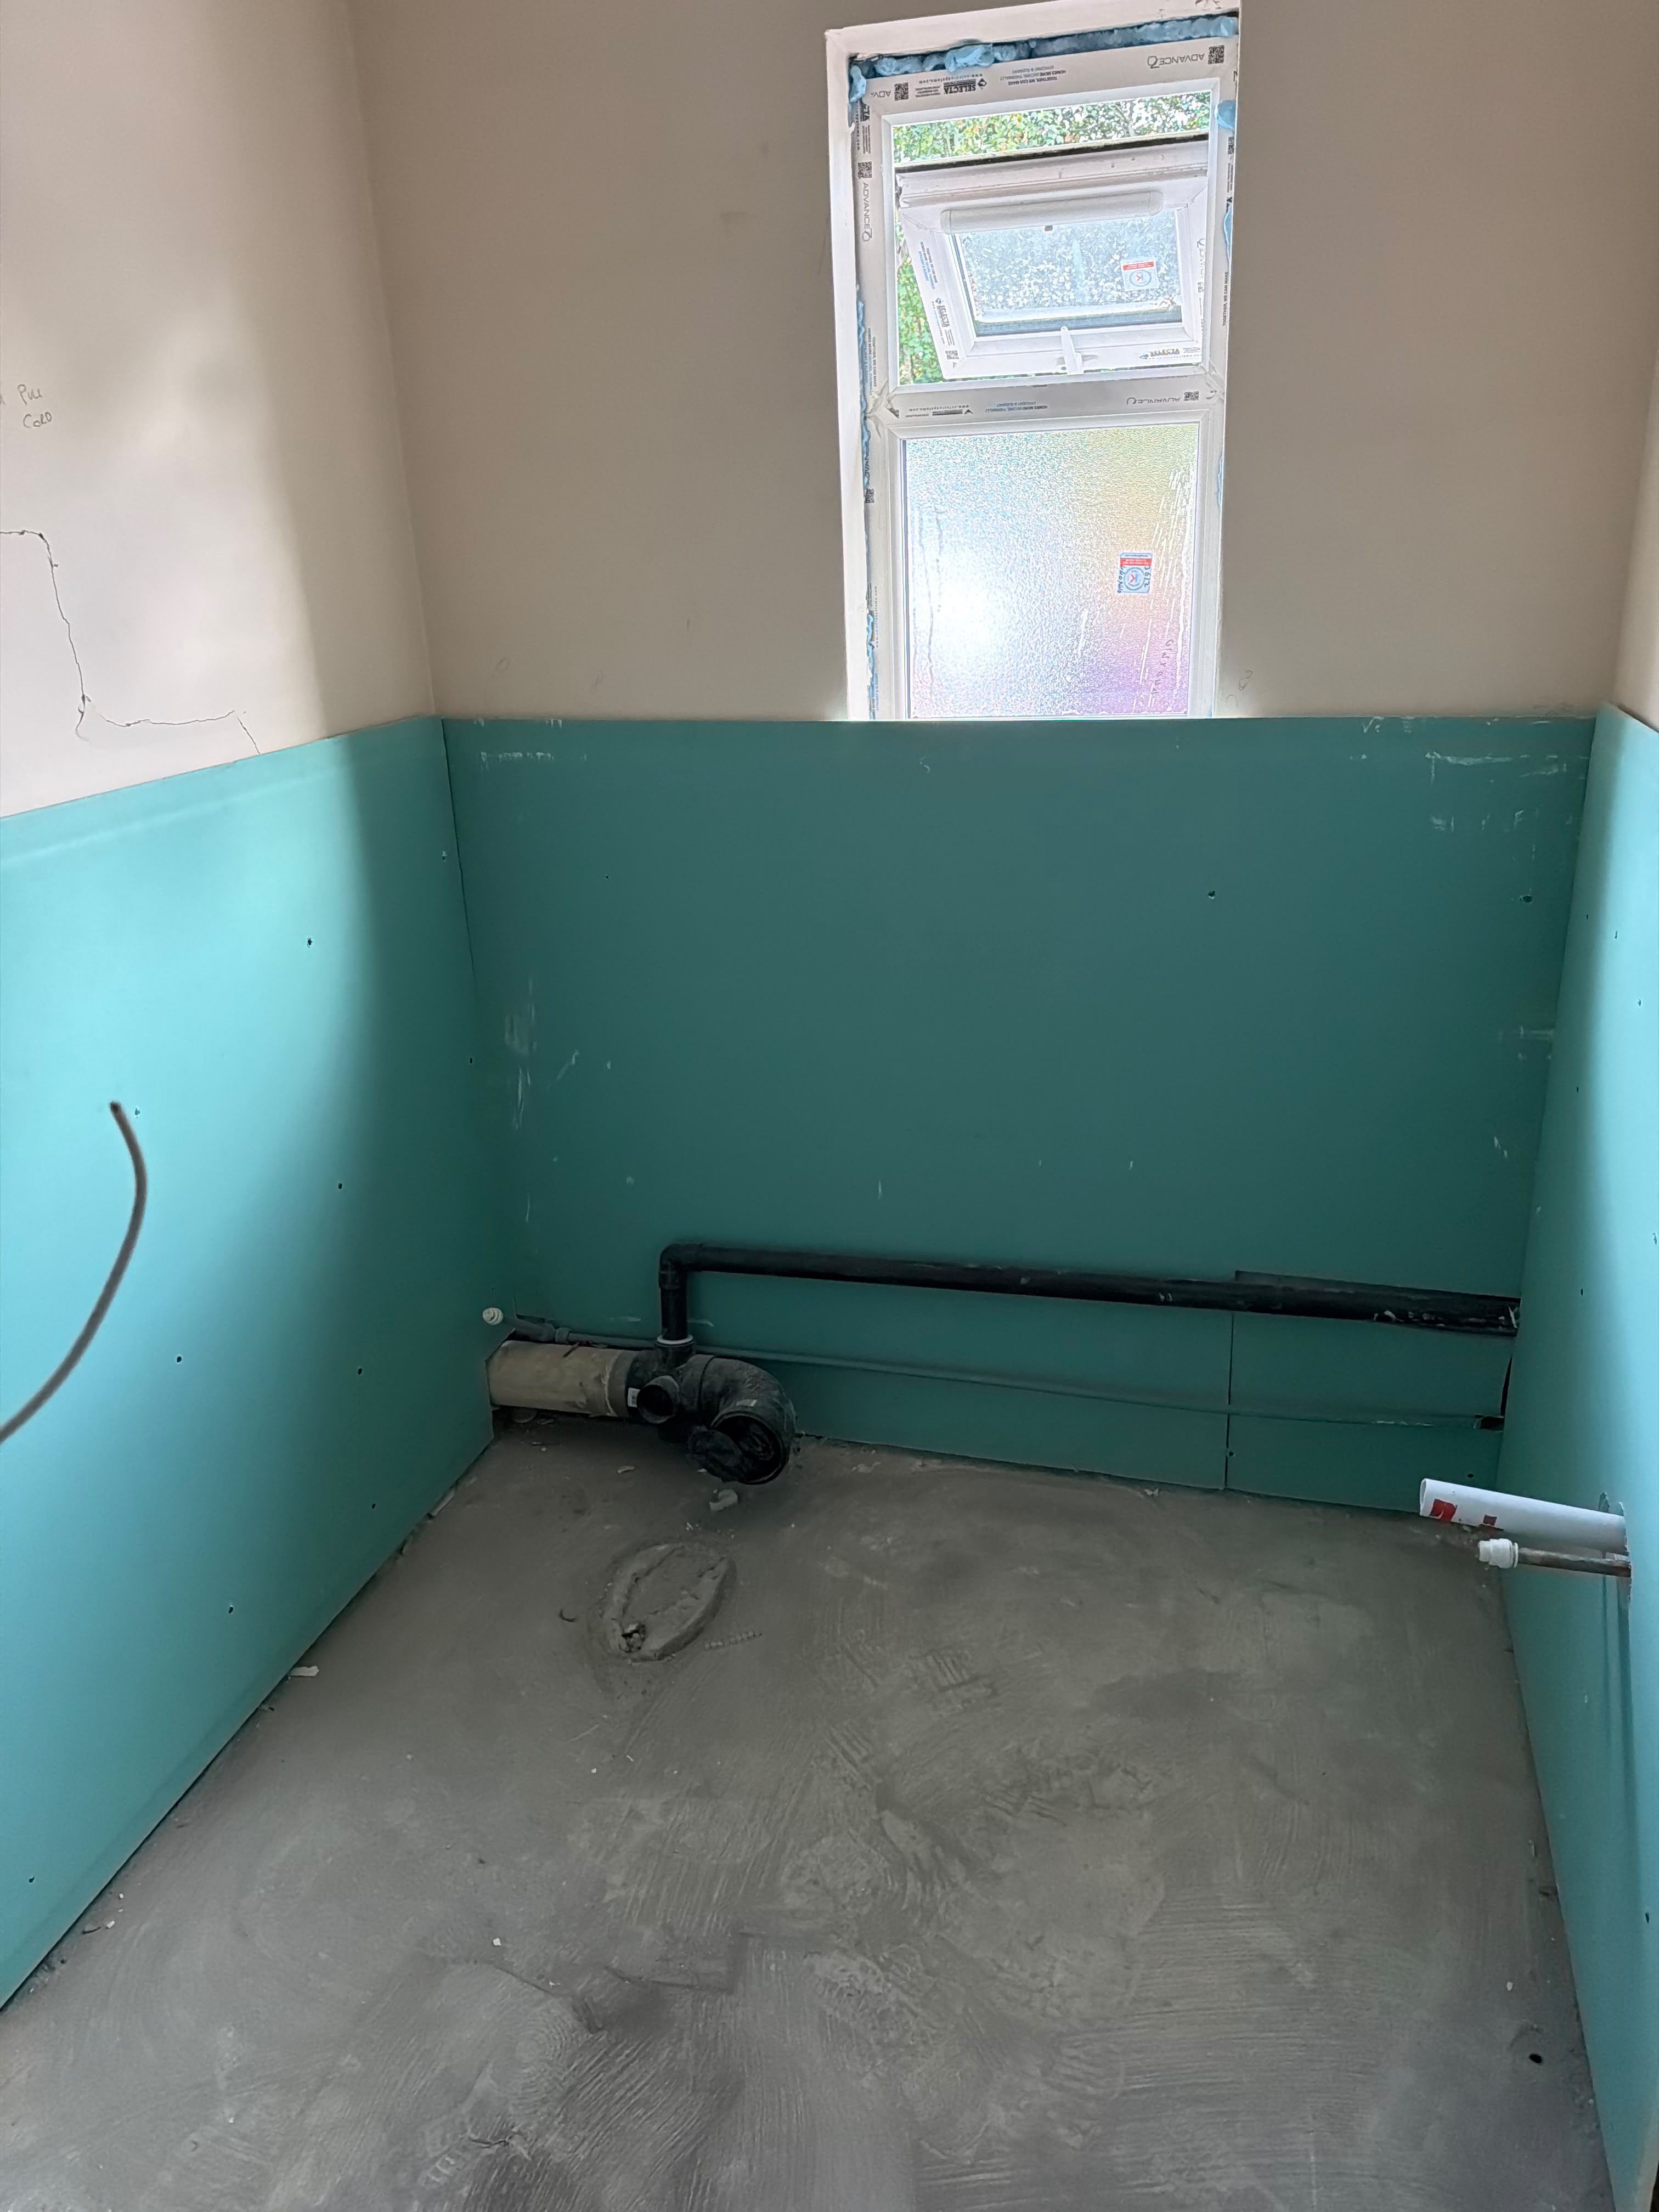
The same room once the turquoise boards are fixed over the membrane, with the pipework left in place for the next trades.
07Corridor lined
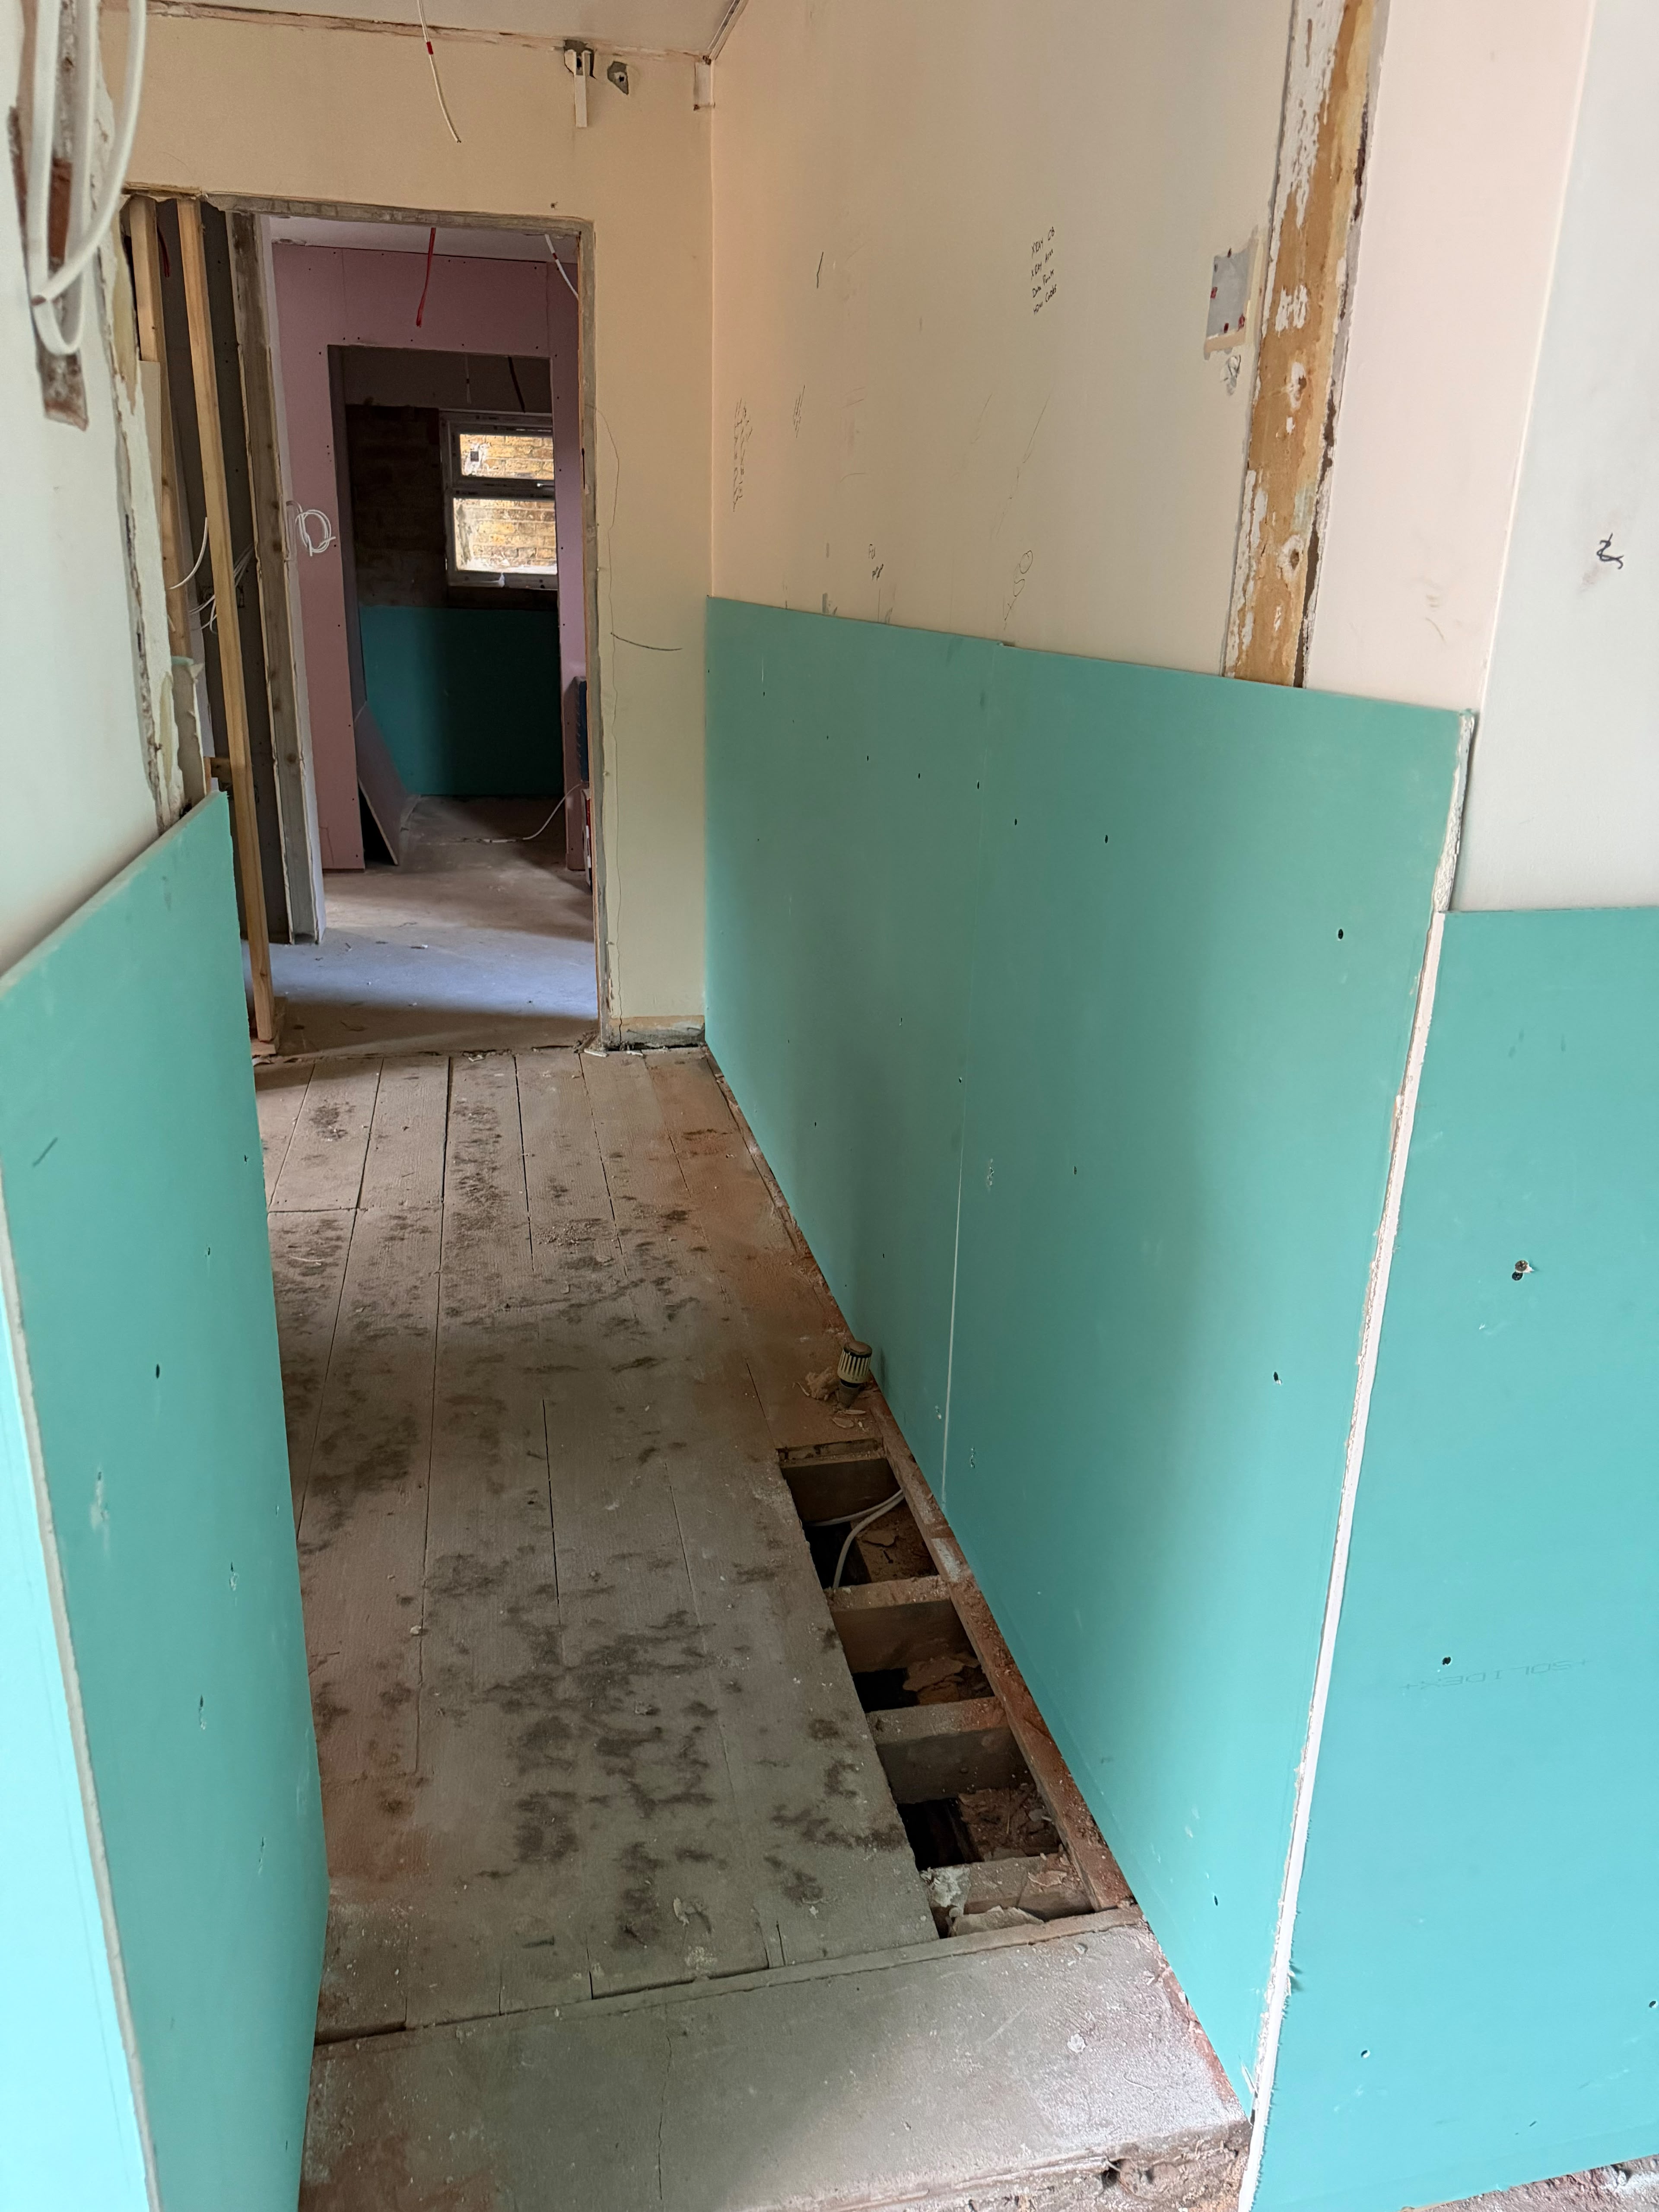
A corridor lined in turquoise board on both sides at low level, with a strip of floor still lifted along one wall.
60 m² of membrane and lining installed in 3 days, leaving the dental practice ready for its refurbishment to follow.
Other houses we have worked on
Tell us what you are trying to do with the house.
We will come out, measure up and tell you honestly whether it works. The site visit and the written quotation are free, and there is no obligation attached to either.